
This is a full operating map of Bot Manager for Messenger/Facebook only in ChatLik. For every card you get: what it is, when to use it, what you see after Change Settings, the important UI labels, and what happens after Save. It is a tutorial — not a thin title list.
Sidebar: Facebook Tools → Bot Manager. Use a non-production lab Page before production. Instagram is a separate path: Instagram Bot Manager map — do not mix platforms.
Before you start
- Under Integrations → Connect Accounts, confirm the Page and enable Enable Bot Connection. Connect Facebook and enable the bot.
- If you see “We could not find any page”, reconnect first.
- Settings are per Page — select the correct row in the Pages column.
- Always click Change Settings to open the interior — do not rely on the closed card face.
Screen overview
After selecting a Page: Pages column, middle settings cards, and the right editor/panel when open. Top of the right column: Options and Variables.
- Open Facebook Tools → Bot Manager and select صفحة اختبار (or your Page).
- Scan cards top→bottom; preferred order later: General → Get Started → Action Buttons → Keywords → Persistent Menu.
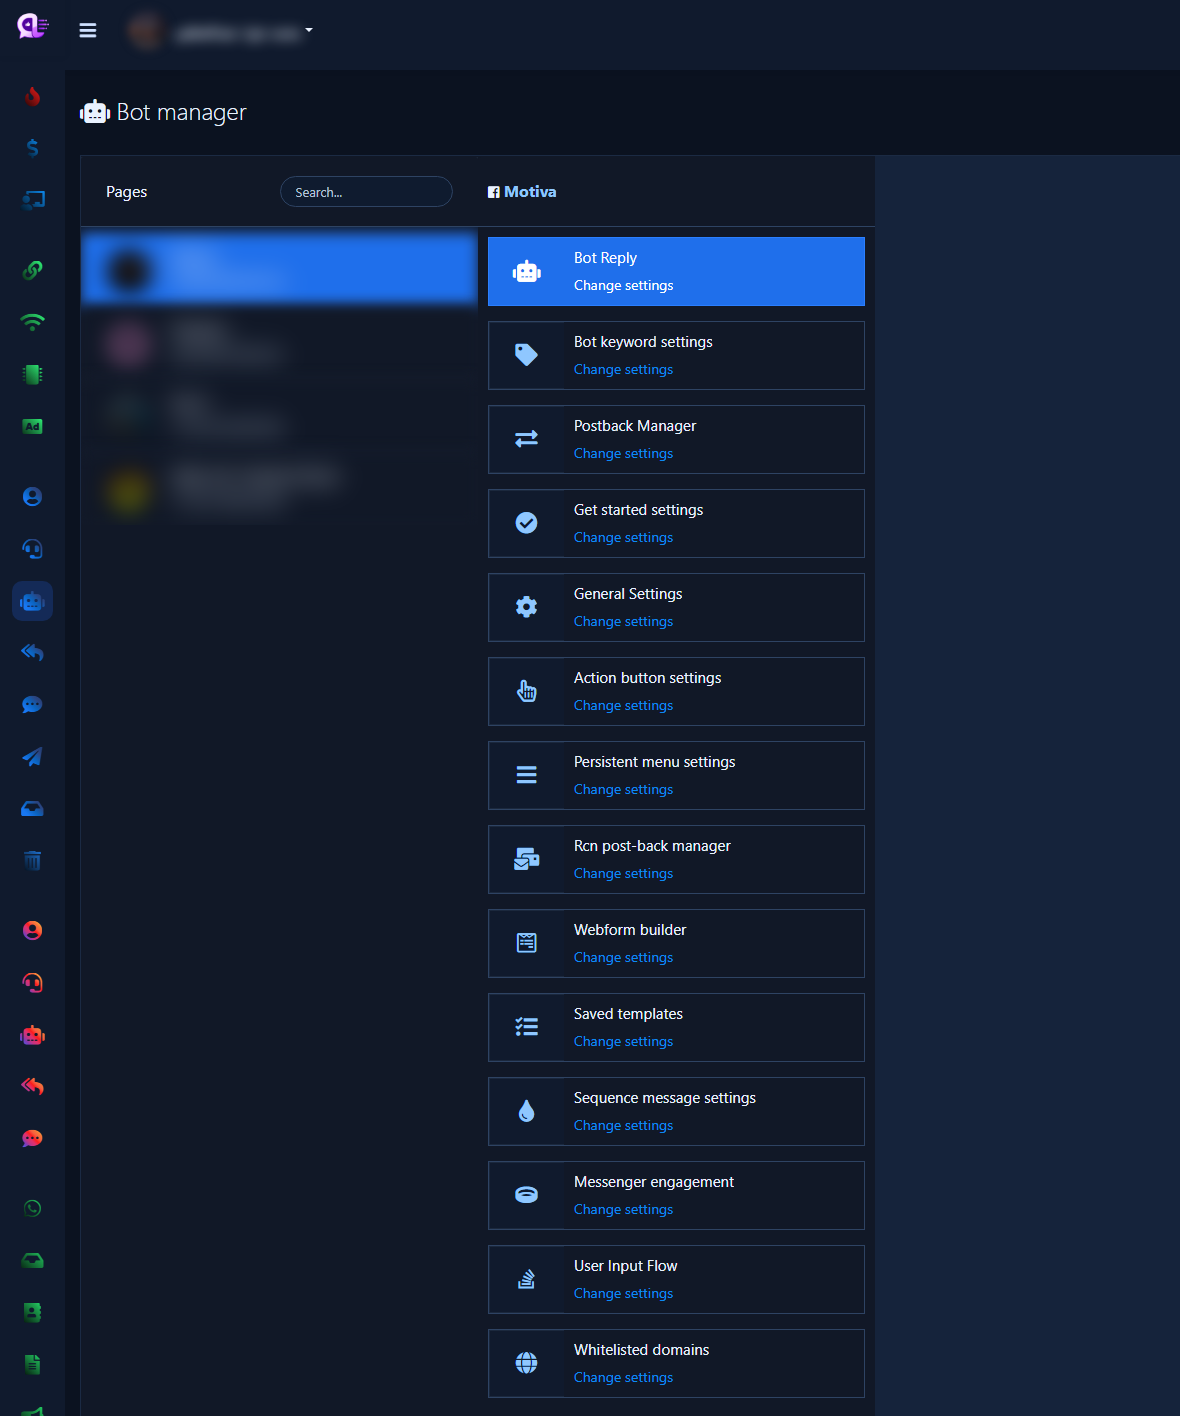
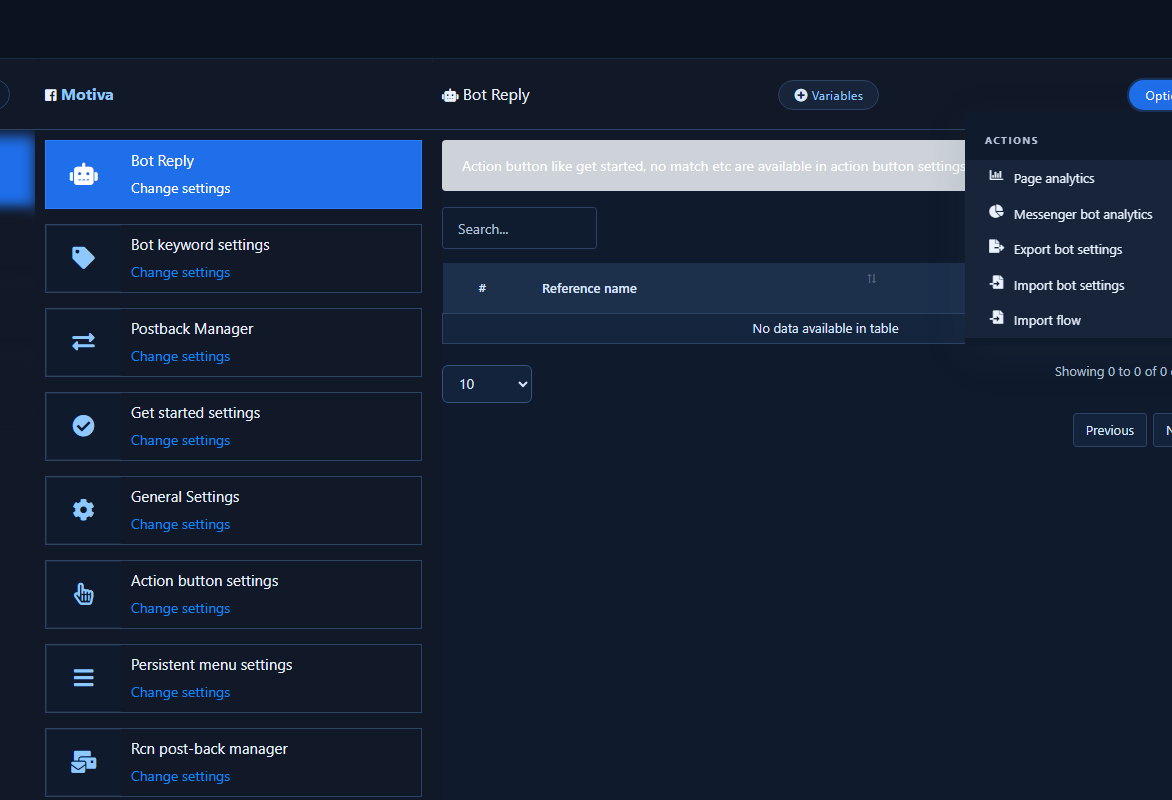
1) Bot Reply
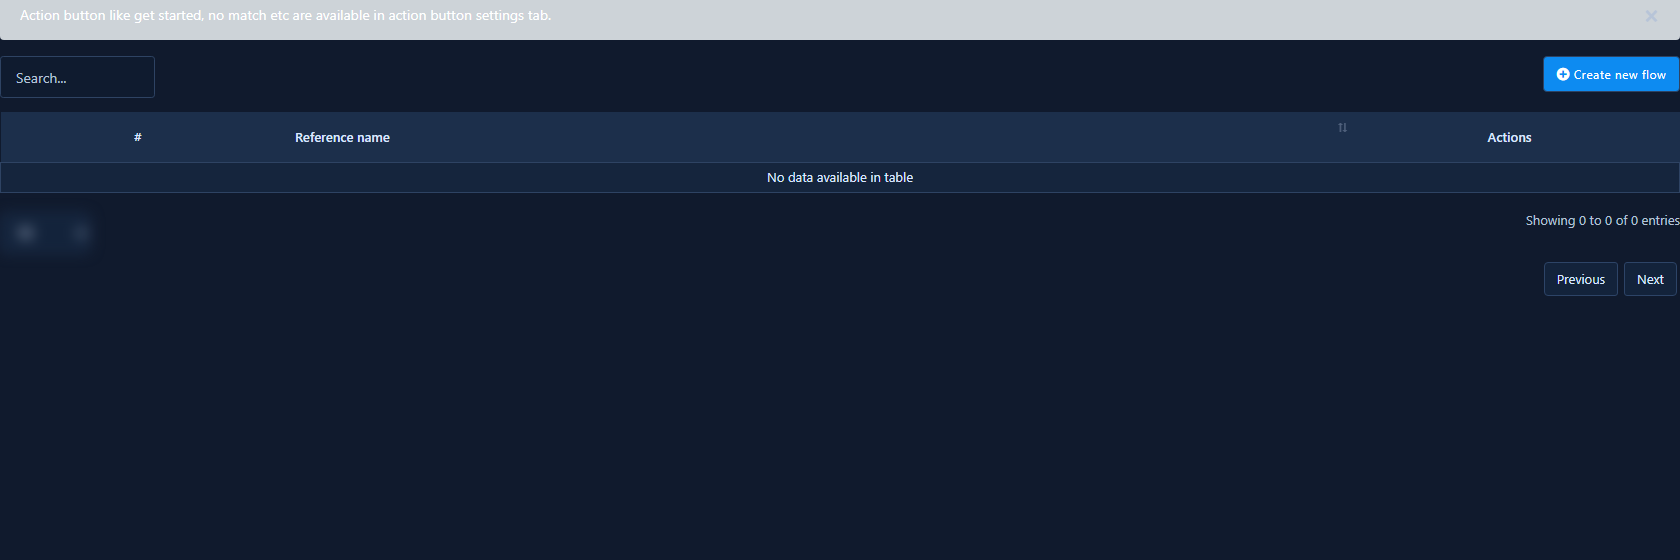
What: entry to the Visual Flow Builder flow list — full multi-step conversations.
When: welcome → questions → buttons → human handoff scenarios.
When opened: click Change Settings on Bot Reply. You see the flow list and Create New Flow.
- After save in the builder, the flow appears in the list and can be linked from keywords or buttons.
- Guides: Facebook Flow Builder · Flow element encyclopedia · Messenger bot setup.
2) Bot Keyword Settings
What: map words/phrases (“price”, “delivery”) to a reply or template.
When: short FAQs — or a quick entry into a flow.
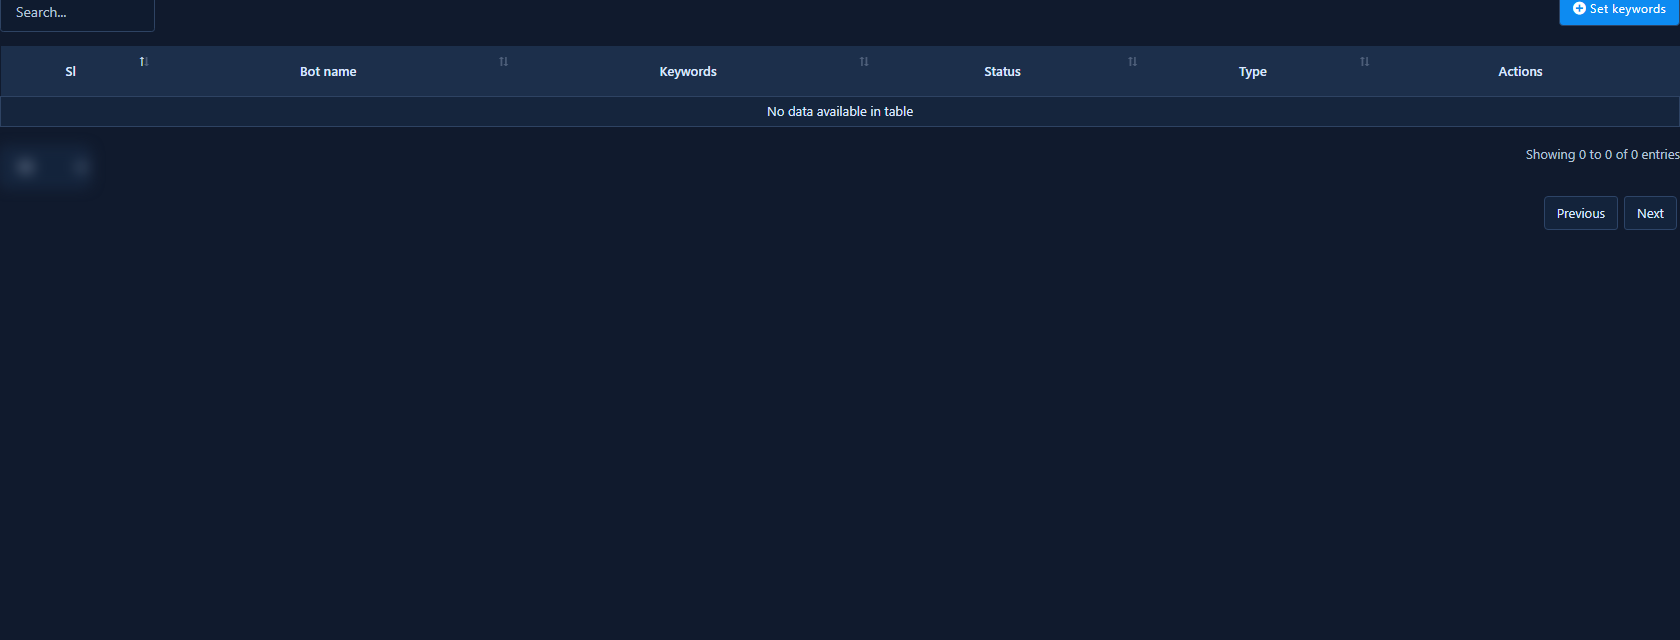
When opened: keyword/reply editor (bot name, matching type, reply text or template). Save in-screen.
- After save, matching messages fire for that Page — test in Messenger.
- Details: Keywords and triggers · Keyword reply via Flow Builder.
3) Postback Manager
What: reusable Postback templates for buttons, Persistent Menu, and flows (UI may say Post-back Manager).
When: the same reply is triggered from multiple places.
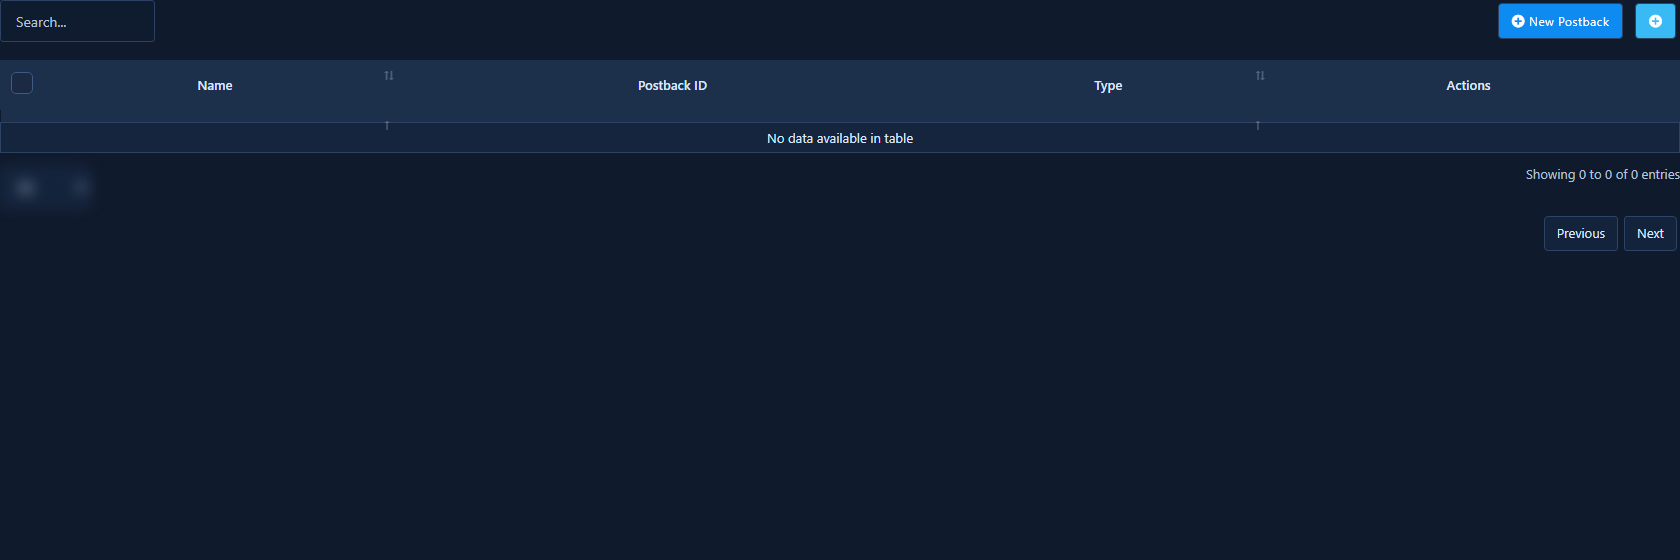
When opened: template list with add/edit. Do not confuse with Rcn post-back manager (recurring notifications).
- After save, templates appear in dropdowns across buttons and the Persistent Menu.
- Guide: Postback manager.
4) Get Started Settings
What: Messenger Get started button, welcome message, and Ice breakers in the same panel.
When: early after connect — also required before Persistent Menu.
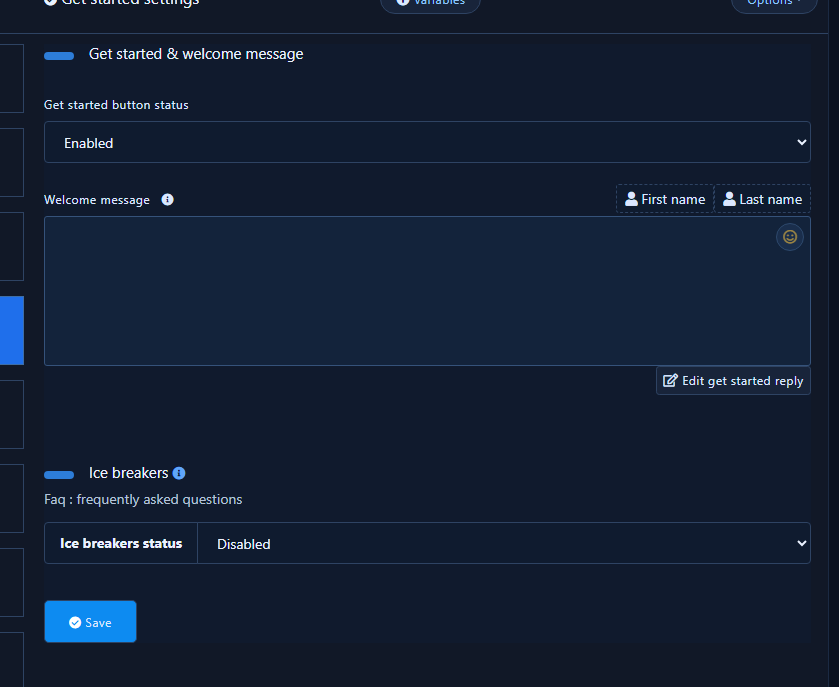
When opened (Get started & welcome message):
- Get started button status: Enabled / Disabled.
- Welcome Message (~160 characters) with name variables.
- Edit get started reply — opens the full template in Visual Flow.
- Ice breakers section: Ice Breakers Status + questions mapped to reply templates.
- Save at the bottom.
- After Save: status/welcome/Ice breakers update for the Page. Edit the full reply via Edit get started reply or Action Button → Get-started Template.
- Guides: Get Started · Ice breakers.
5) General Settings
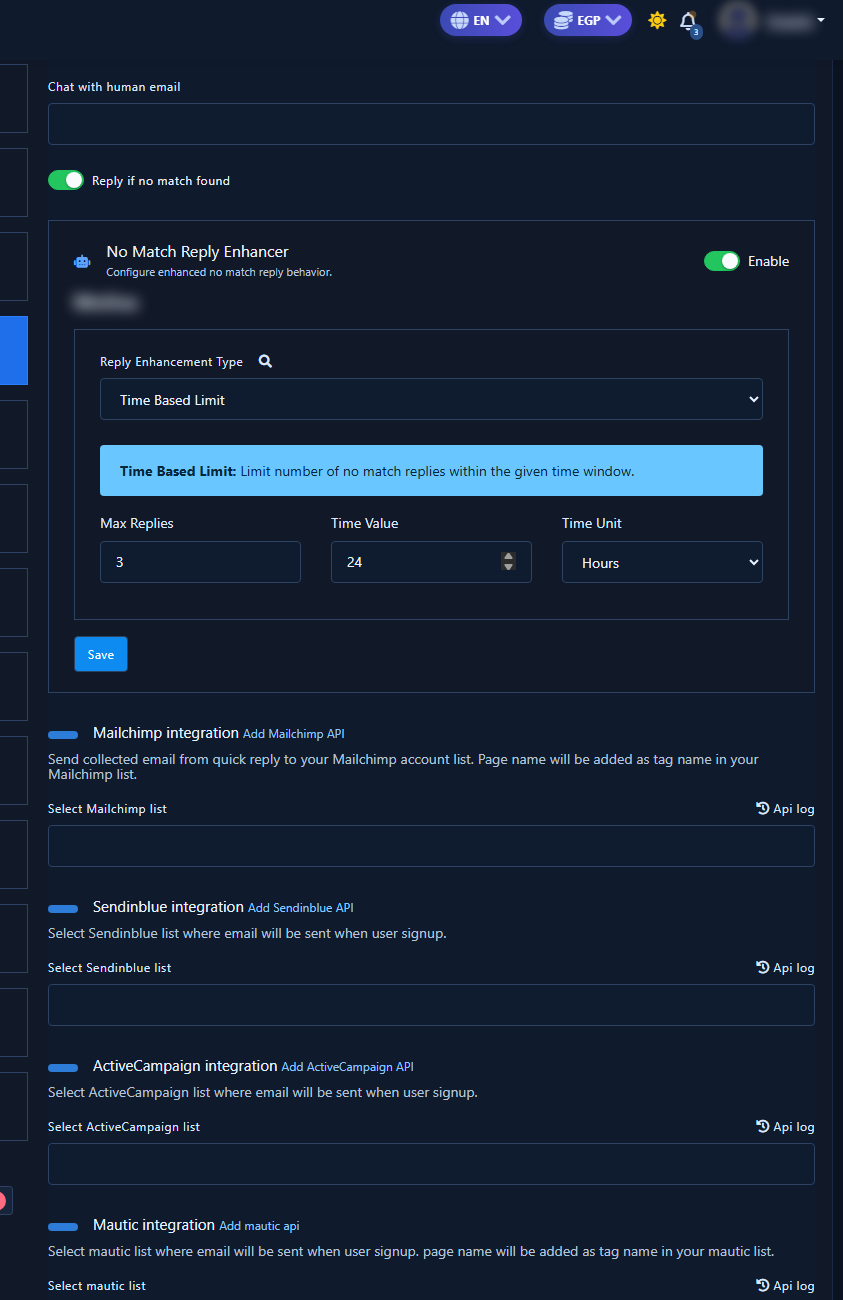
What: page-level bot behavior — mark seen, human email, No Match switch, enhancer limits, mail/SMS/Sheets.
When: before relying on No Match — without the switch the template never sends.
Key labels when opened:
- Mark as seen status: Enabled / Disabled.
- Chat with human email.
- Reply if no match found — master No Match switch.
- No Match Reply Enhancer: Reply Enhancement Type, Max Replies, Time Value / Time Unit, Pause Duration.
- Integrations: Mailchimp, Sendinblue, ActiveCampaign, Mautic, Acelle, SMS/Email API, Google Sheet.
- Save — success: “General settings have been stored successfully.”
- After Save: switches apply immediately. Then edit Action Button → No Match Template.
- Guides: No Match · reply limits.
6) Action Button Settings
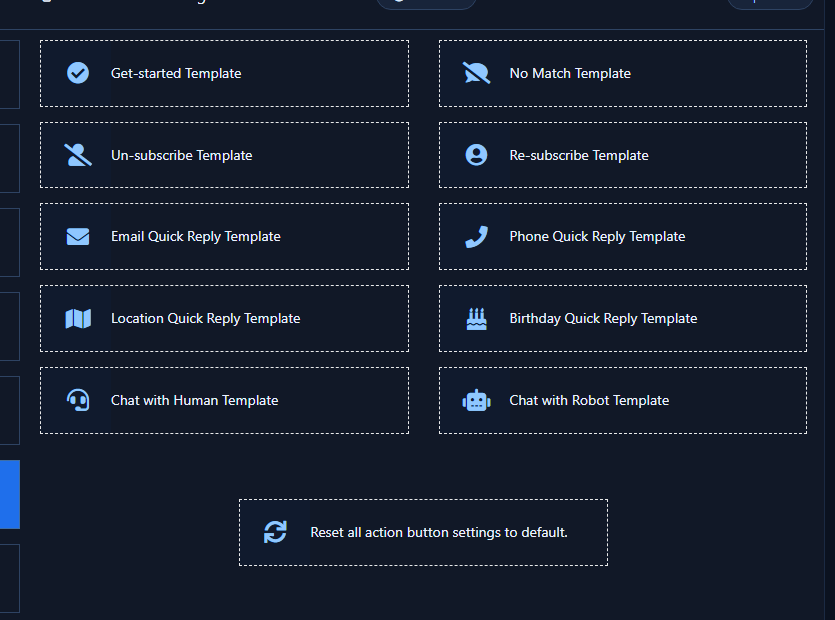
What: system template grid — Get-started, No Match, un/resubscribe, quick replies, chat human/robot.
When: after General + Get Started switches — build the actual template content here.
When opened: tiles such as Get-started Template, No Match Template, Un-subscribe / Re-subscribe, Email/Phone/Location/Birthday Quick Reply, Chat with Human, Chat with Robot. Click a tile to open Visual Flow.
- After save in the editor: that template is what customers receive for the event (No Match only if General Settings switch is on).
- Related: Get Started · No Match.
7) Persistent Menu Settings
What: pinned Messenger menu under the composer.
When: after Get started button status = Enabled.
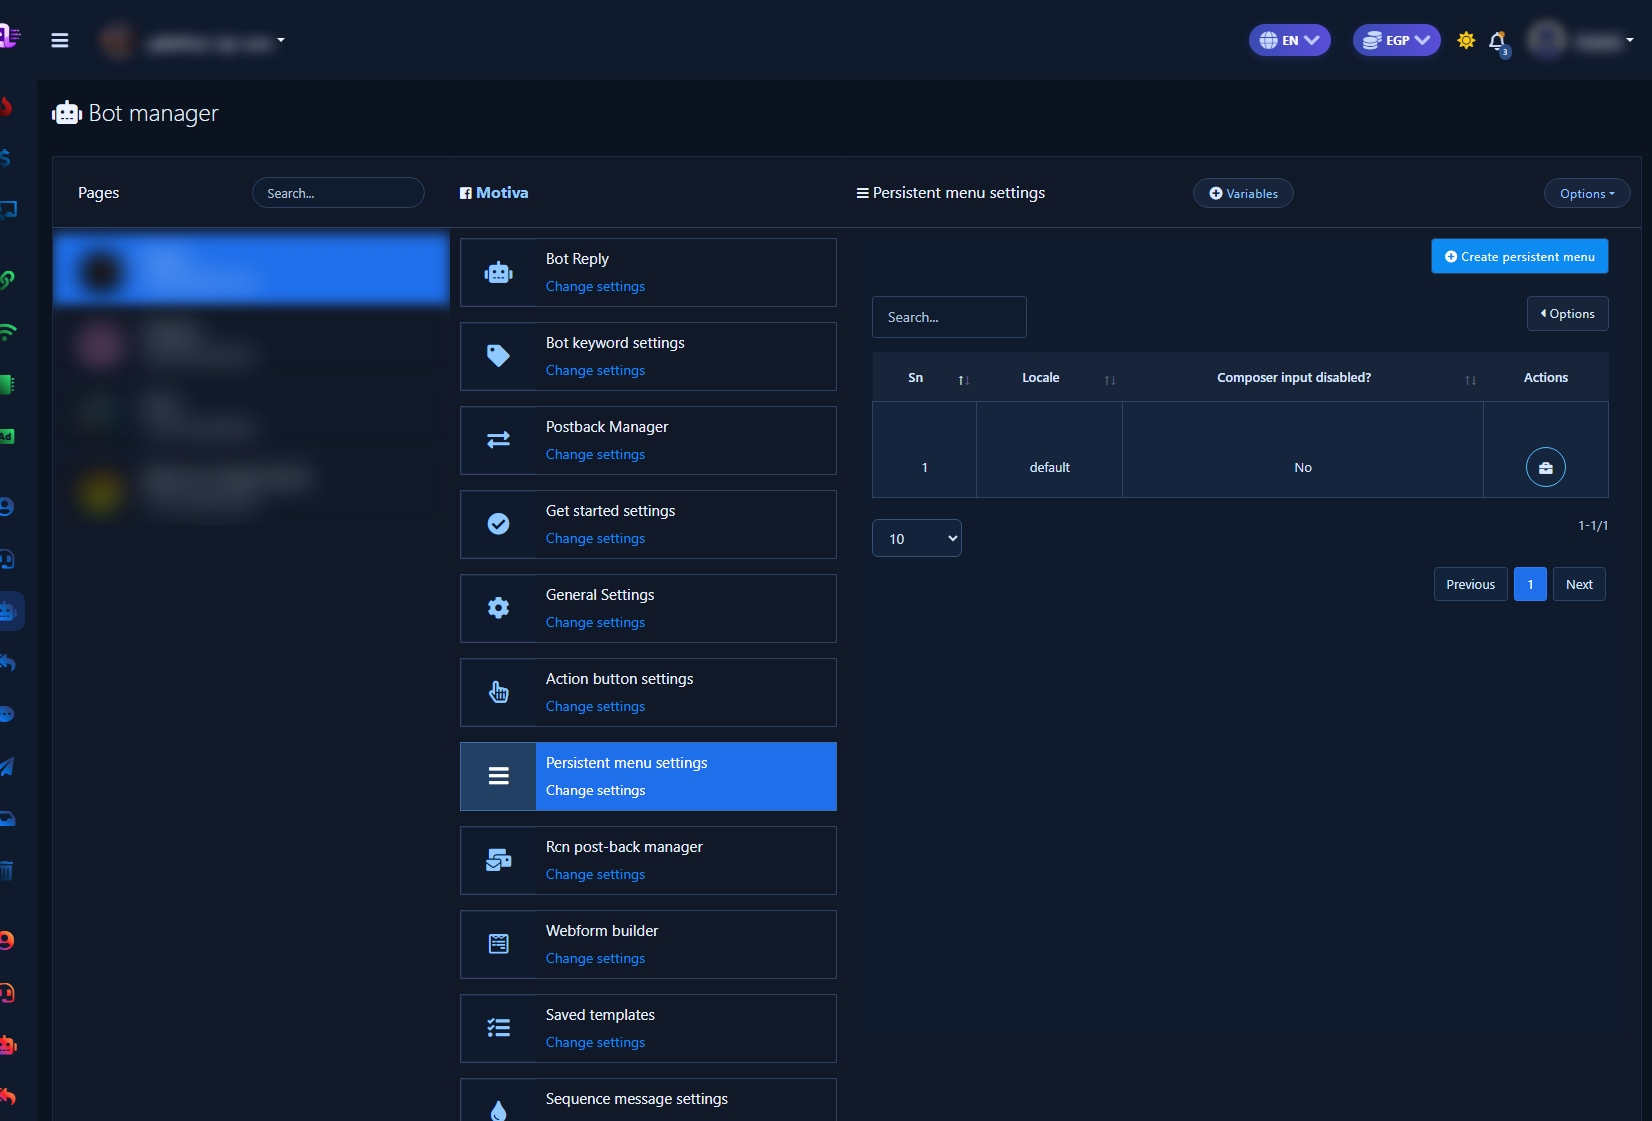
When opened: locale list with Create Persistent Menu, then Edit Persistent Menu: Locale (need default), Composer Input Disabled?, menu title rows with Web URL or Post back. Submit saves in ChatLik; Options → Publish Persistent Menu is separate (do not publish during casual photo sessions unless ready).
- Full guide: Create a Persistent Menu.
8) Rcn post-back manager
What: recurring notification templates (Arabic UI: إدارة الإشعارات المتكررة). Not the same as Postback Manager.
When: Meta-allowed re-engagement after the subscriber opts into recurring notifications.
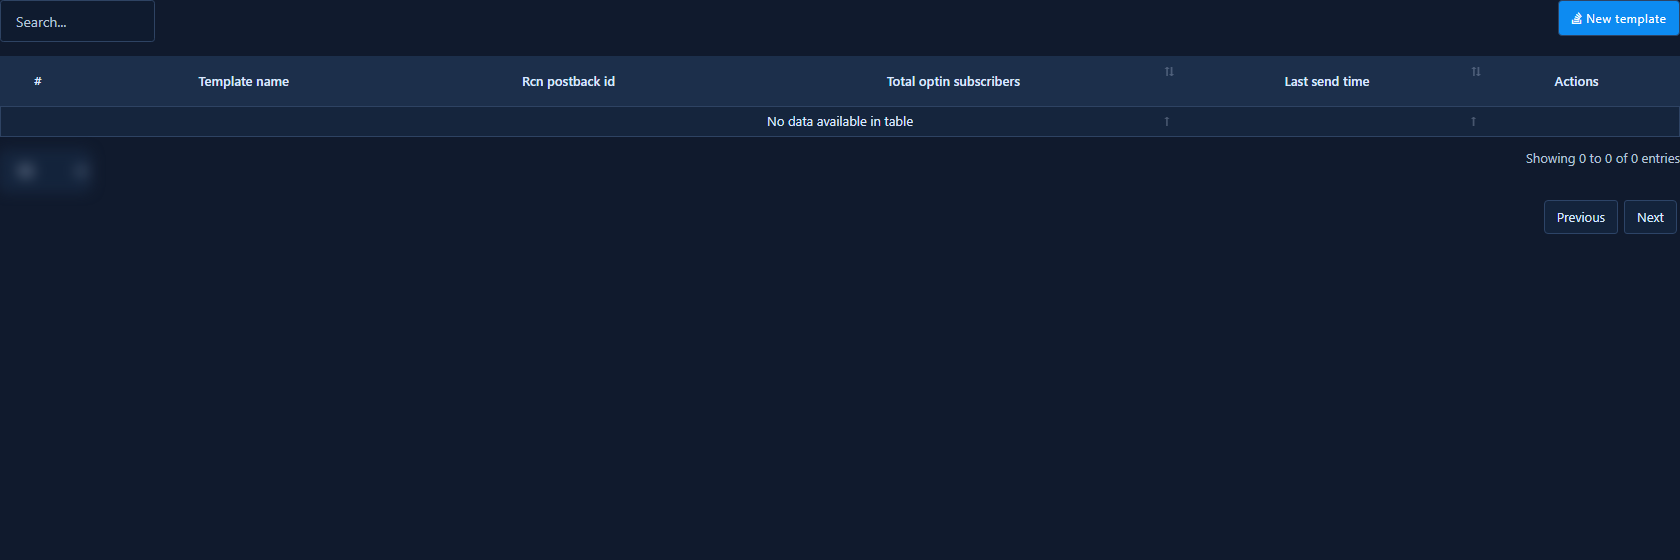
When opened: RCN/OTN template manager for the Page.
- After save, templates appear in recurring-notification broadcast pickers.
9) Webform builder
What: in-Messenger Webview forms for longer data capture.
When: address/size/order details beyond a quick reply.
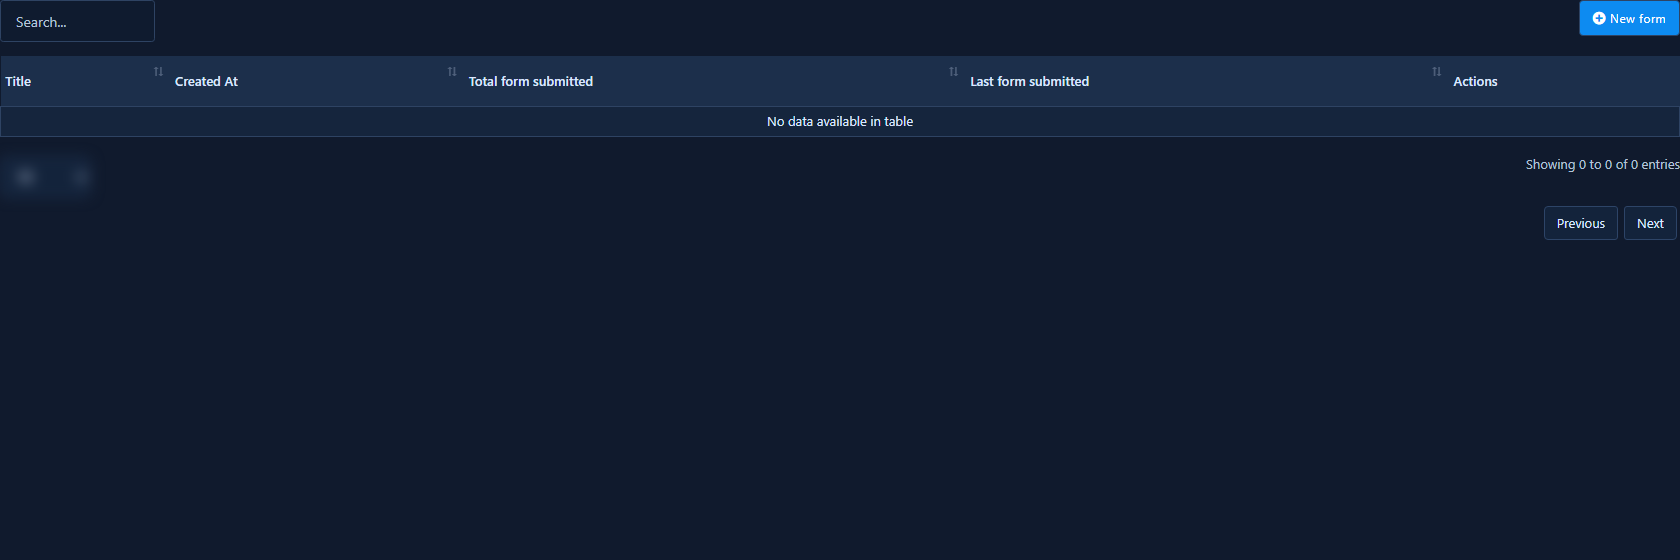
When opened: form list — create/edit, then link from flow buttons. Whitelist your domain first.
- After save, the form can open from a Webview button in a flow.
10) Saved Templates
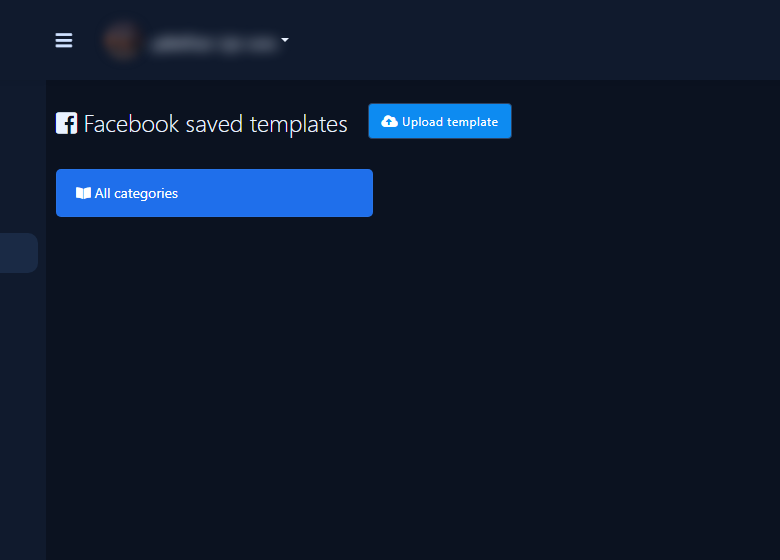
What: reusable saved message templates / bot-setting packages.
When: copy settings between Pages or back up before a big change.
When opened: saved template library. Also via Options: Export bot settings / Import bot settings.
- After import, re-check keywords and Get Started on the target Page.
11) Sequence Message Settings
What: timed drip campaigns after a trigger or opt-in.
When: multi-day welcome, cart reminder, re-engagement series.
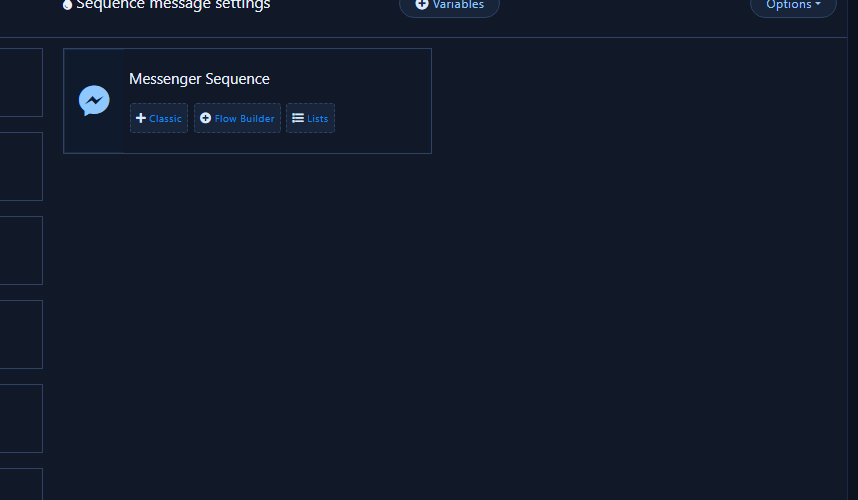
When opened: Messenger Sequence card with Classic +, Visual Flow Builder + / scenario builder, and Lists. Create a campaign, set delays/templates, enable.
- After save, messages schedule per campaign rules — review reports before wide send.
- Guide: Sequence campaigns.
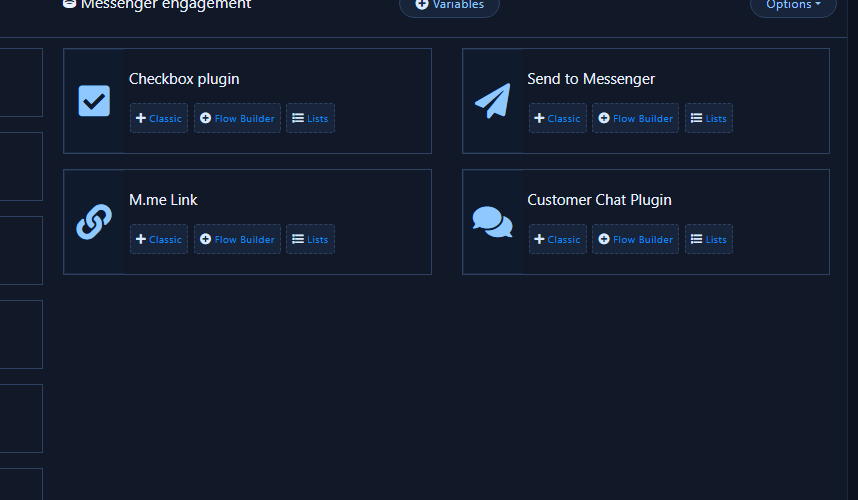
12) Messenger Engagement
What: acquisition tools: Checkbox Plugin, Send to Messenger, M.me Link, Customer Chat Plugin.
When: site chat widget, bio m.me link, or landing-page checkbox.
When opened: the four plugin cards — configure domain, IDs, and button text.
- After save, embed the snippet or link and test in a clean browser.
- Guides: Messenger codes · Customer Chat plugin · Checkbox plugin.
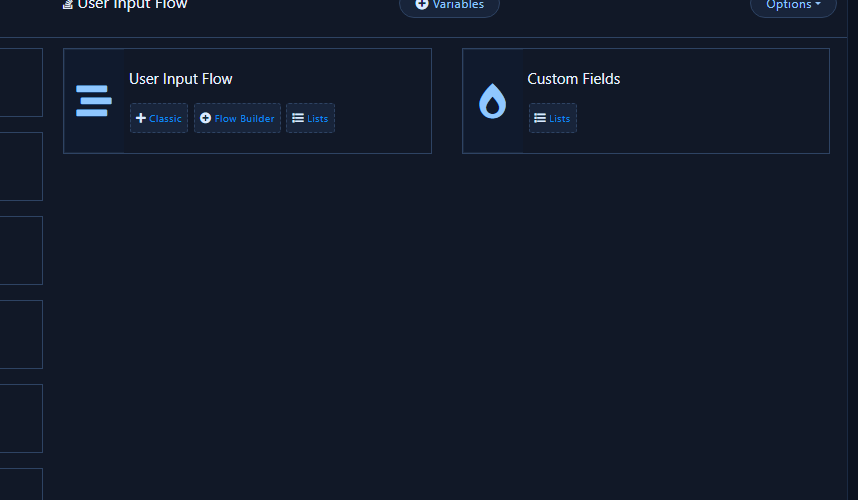
13) User Input Flow
What: in-chat field collection campaigns stored as custom fields.
When: before human handoff or order details without a full Webview.
When opened: input-flow campaigns — add ordered questions, then trigger from a flow button.
- After save, answers populate the subscriber profile when the flow runs.
- Guide: User input flow.
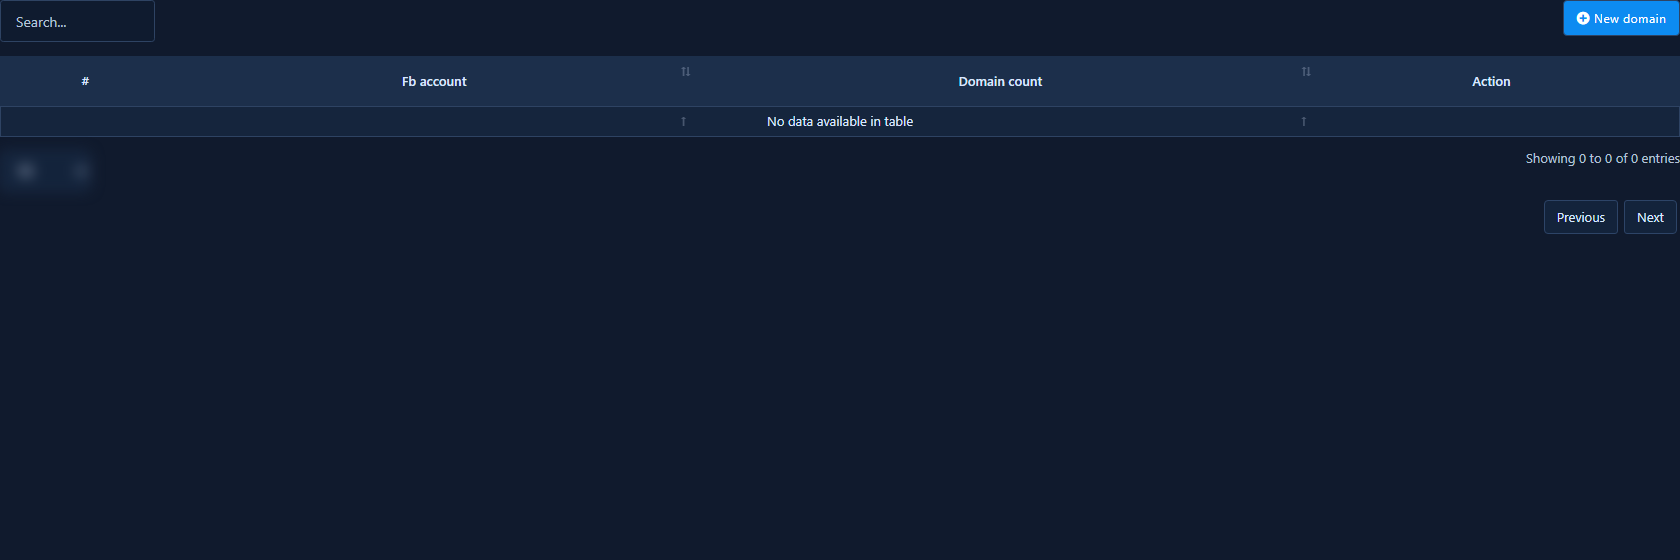
14) Whitelisted Domains
What: URL domains allowed for bot Web URL buttons and Webviews (Meta requirement).
When: before publishing any web link or form on your domain.
When opened: domain list + add domain, then save.
- After save, Meta allows opening those domains from the Page. Failed buttons often mean a missing whitelist entry.
- Related: Subscribers and domains.
15) Options bar and subscribers
Right-column header Options: Export bot settings, Import bot settings, Import flow, Page/Messenger bot analytics. Variables inserts dynamic fields. Also review Subscribers and Errors before go-live.
Recommended first-week order
- Connect + Enable Bot Connection.
- General Settings: enable Reply if no match found → Save.
- Get Started Settings: Enabled + welcome → Save.
- Action Buttons: Get-started + No Match templates.
- Keywords for FAQs.
- Persistent Menu, then publish after testing.
- Optional: Sequence, Engagement, User Input, Whitelist.
Common mistakes
- Shooting a closed card face instead of the panel after Change Settings.
- Editing No Match without enabling the General Settings switch.
- Building Persistent Menu before Get Started is Enabled.
- Mixing Instagram Tools screens into this Facebook guide.
- Submitting Persistent Menu without Publish Persistent Menu.
Related: Messenger bot setup · Instagram map · Connect accounts.


