
This is a Facebook Messenger-only bot setup guide inside ChatLik — from connecting the Page and enabling Bot Connection, through Get Started, No Match, keywords, and the Persistent Menu, to handing off to a human in Live chat. Every step here uses Facebook Tools only; do not mix Instagram or WhatsApp screens into this walkthrough or its screenshots.
Practical order that prevents common failures: Connect Accounts → Enable Bot Connection → open Bot manager and select the Page → enable Get started button status → enable Reply if no match found in General Settings before relying on the template → build keywords/flows from Bot Reply → Persistent Menu Settings (after Get Started) → test in Messenger, then use Live chat for human replies. Lab on a clean Page (a non-production lab Page), then copy to production after verification.
Sidebar path: Facebook Tools → Bot manager. Connect: Integrations → Connect Accounts. Human support: Facebook Tools → Live chat.
Before you start (prerequisites)
Without Connect + Enable Bot Connection, Get Started will not appear for customers and No Match / keyword templates will not send. Prepare ahead: a short welcome (who you are + what you offer + next step), 5–10 real FAQ phrases from customer chats, and a clear rule for when to escalate (complaint, refund, price negotiation).
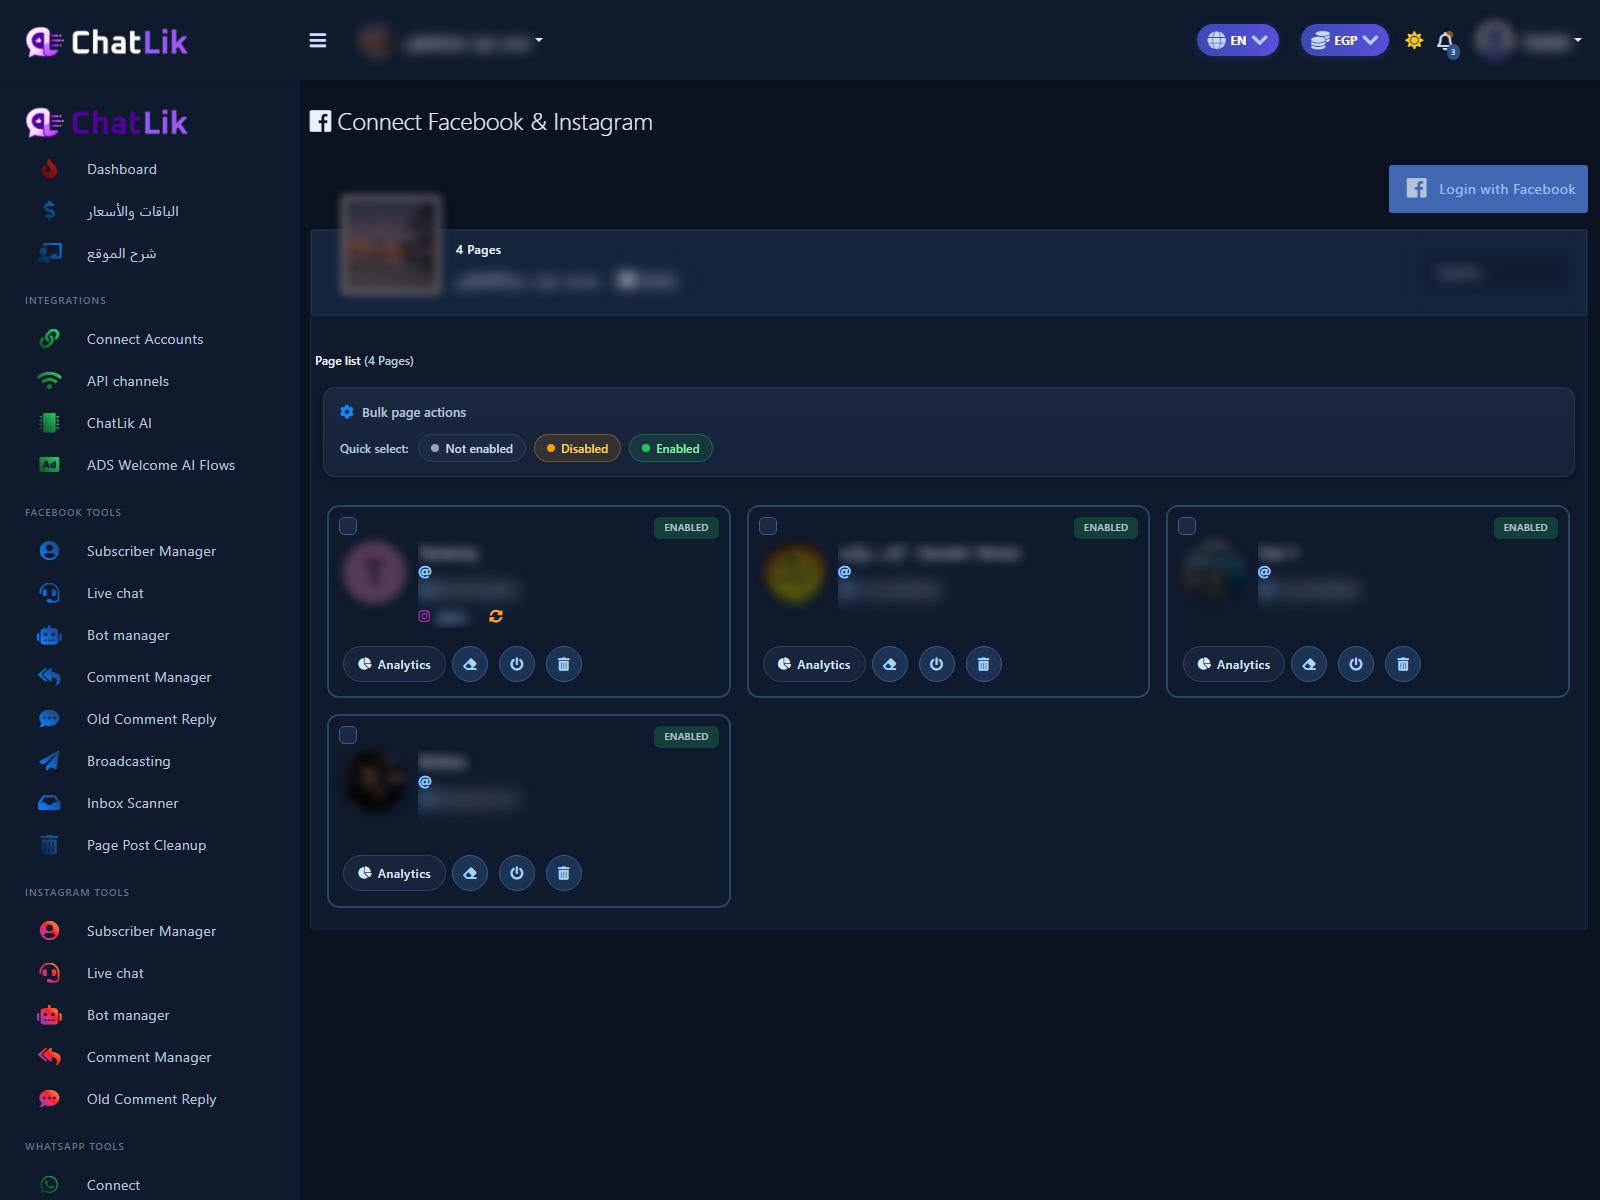
- Sidebar: Integrations → Connect Accounts. Confirm the Page under Page List. Full walkthrough: Connect Facebook and enable the bot.
- On the Page card click Enable Bot Connection and confirm. If you see an empty “no pages” state, reconnect via Facebook login on that screen first.
- Draft welcome copy and short button labels (prices, delivery, talk to an agent) before opening the Visual Flow editor.
- Use a lab Page for first tests. Do not trial sensitive keywords on production before checking match type and conflicts with older rules.
1) Open Bot Manager and select the Page
Bot manager is the Messenger setup hub: a Pages column and middle cards for each setting (Bot Reply, Bot Keyword Settings, Get Started, General Settings, Action Buttons, Persistent Menu…). Settings you open apply only to the selected Page — pick the correct Page before Change Settings.
- Sidebar: Facebook Tools → Bot manager. Do not use Instagram Tools for this guide.
- Under Pages, select the Page (prefer صفحة اختبار for a lab) and wait for middle cards: Bot Reply, Bot Keyword Settings, Get started settings, General Settings, Action Button Settings, Persistent Menu Settings, and more.
- Below the Page card, use Subscribers and Errors after testing when you need diagnostics.
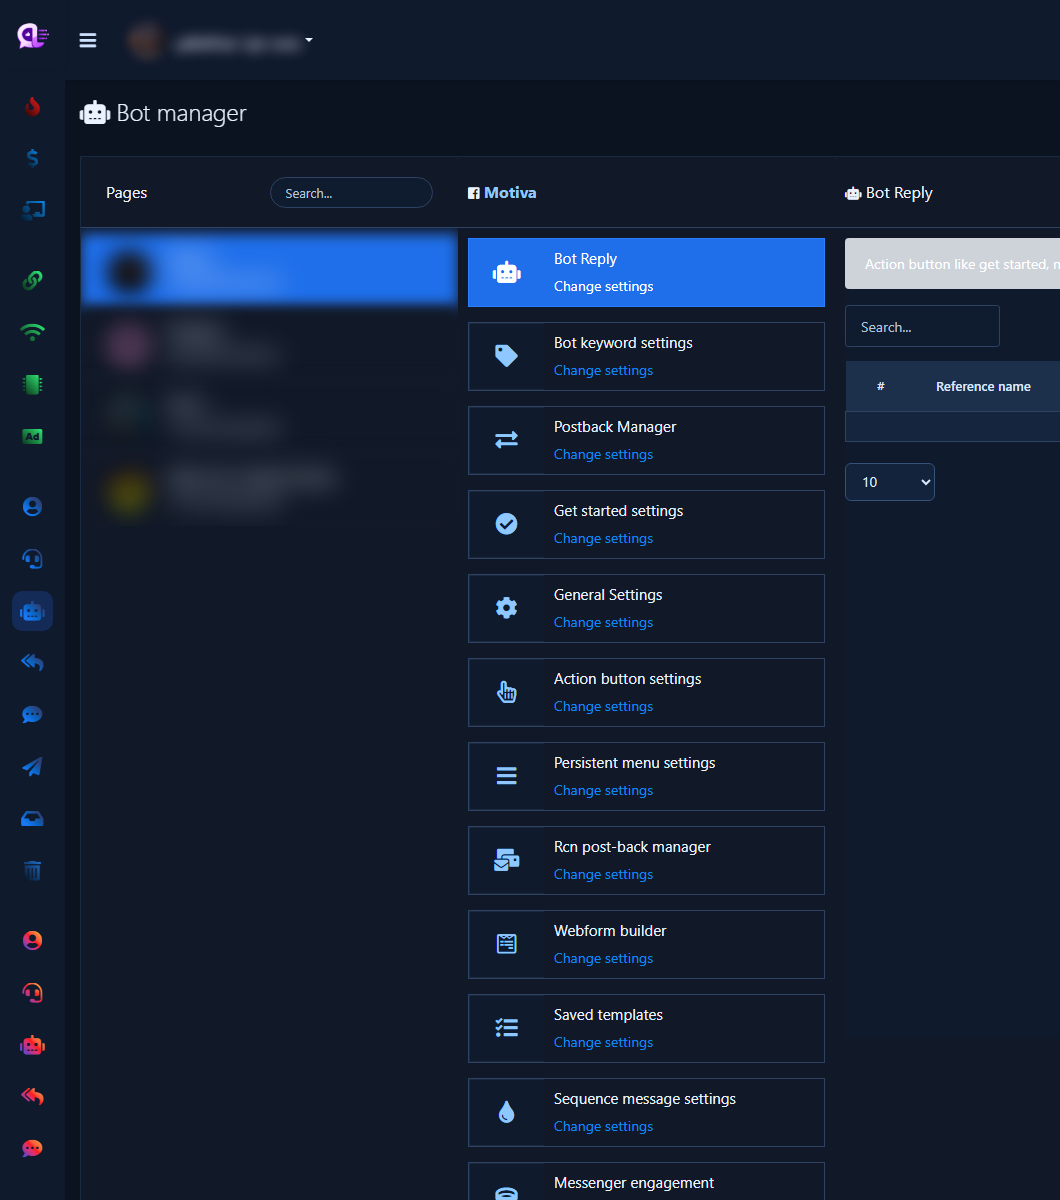
Card-by-card map: Facebook Bot Manager overview.
2) Enable Get Started and the welcome message
The Messenger Get started button appears the first time someone opens a chat with your Page. Tapping it sends your welcome reply. Configure in two places: (a) Get started settings for status + short welcome, (b) Get-started Template under Action Button Settings for the full Visual Flow.
- Open Get started settings → Change Settings.
- In Get started & welcome message, set Get started button status to Enabled. Without this, customers will not see the button and Persistent Menu creation may fail.
- Write a short Welcome message if needed (First name / Last name variables available), then Save.
- Optionally configure Ice breakers on the same panel — see Ice breakers.
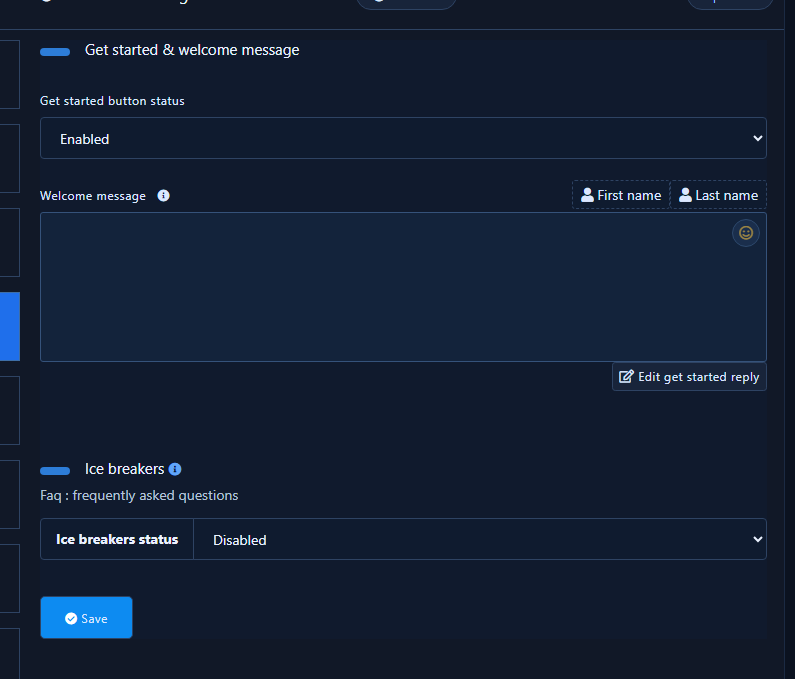
Full template walkthrough: Get Started Template.
3) Enable No Match in General Settings
No Match Template is the safety net when a customer message matches no keyword and no known bot path (and no Get Started / Persistent Menu hit). Editing the template alone is not enough: enable Reply if no match found in General Settings and save — otherwise the template never sends.
- Open General Settings → Change Settings.
- Enable Reply if no match found, review enhancer limits if shown (repeat limits / pause after human reply), then Save.
- Do not use No Match as a substitute for clear FAQ keywords — keep it for leftovers after keywords, Get Started, and the menu.
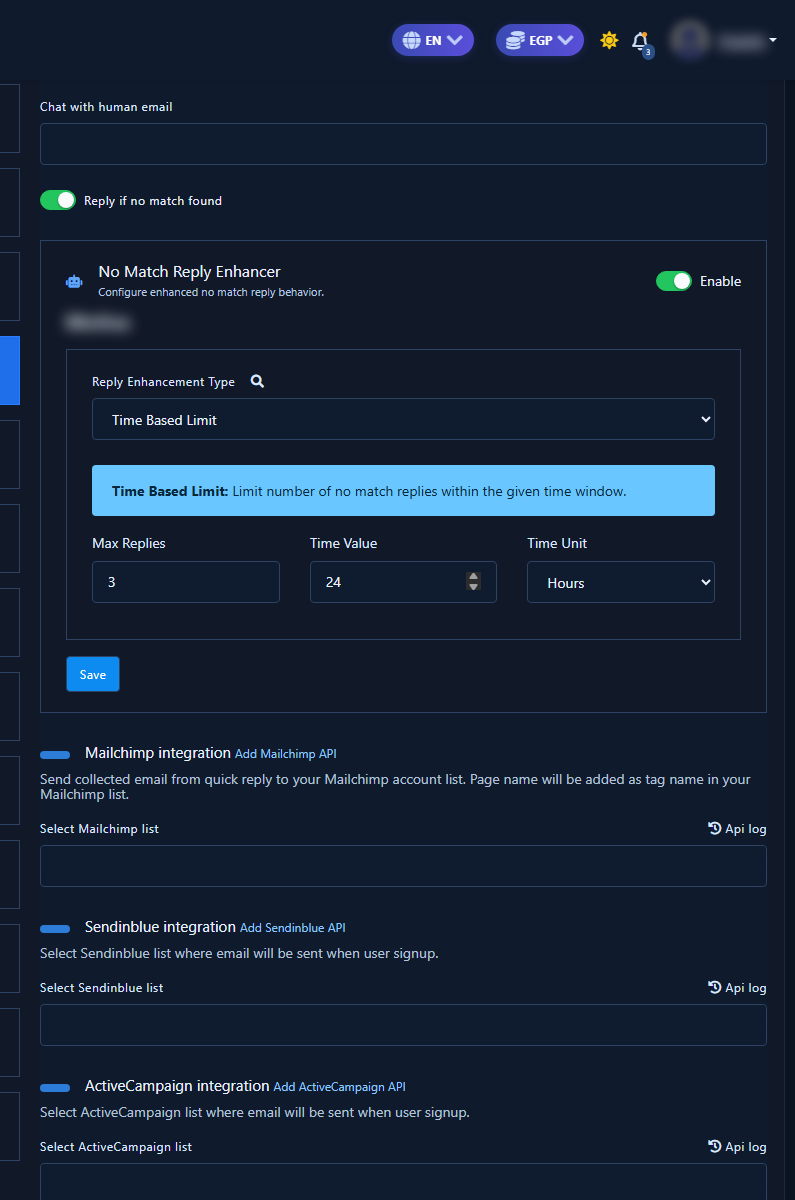
Template details: Facebook No Match. Repeat limits after a human reply: No Match reply limits.
4) Open the Action Button template grid
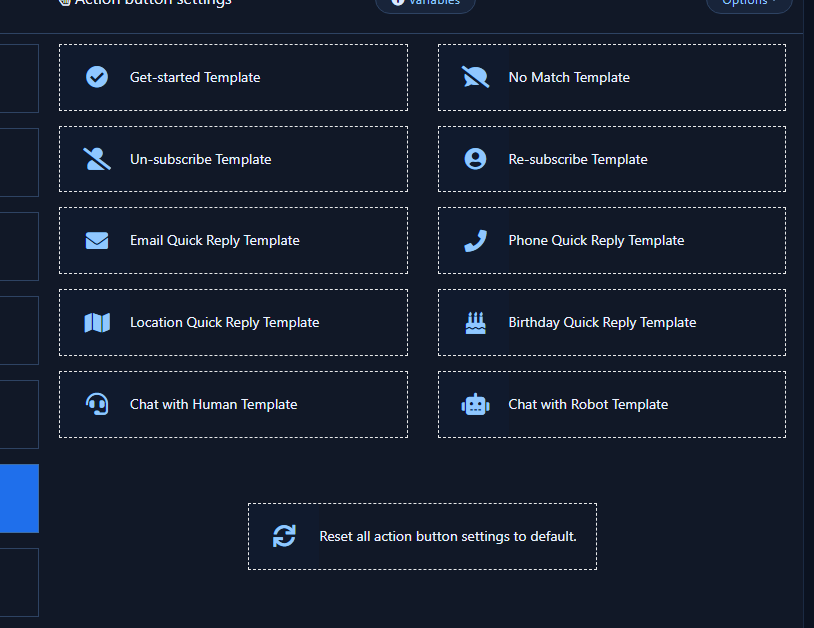
Action Button Settings shows the template grid that opens Visual Flow: Get-started Template, No Match Template, and chat-with-human/bot templates if present. This grid is not the normal flow list — flows live under Bot Reply.
- Open Action Button Settings → Change Settings.
- Identify template cards before editing so you do not open Get Started when you meant No Match (or the reverse).
- Click the template you need to open the editor (usually full-page Visual Flow).
5) Edit the Get-started Template in Visual Flow
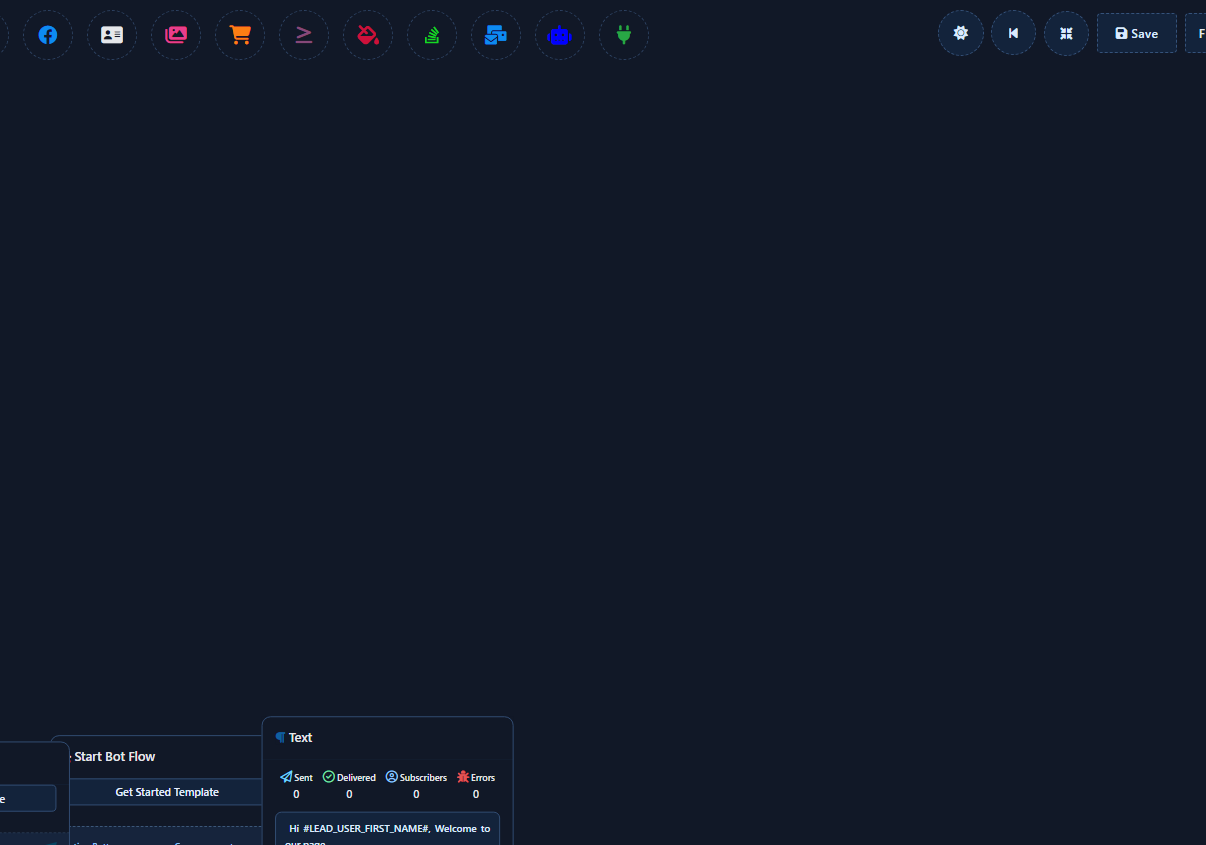
After enabling Get Started status, open Get-started Template from the Action Button grid (or Edit get started reply if shown). On the canvas: start node + component toolbar (Text, Buttons, Quick Replies…). Connect a clear welcome, add a “Talk to an agent” button if you will escalate later, then Save.
- From the grid open Get-started Template.
- Edit reply nodes: short welcome + buttons/quick replies with clear labels.
- Click Save (or Ctrl+S). Without Save, customers never get the template.
- Test from a fresh Messenger account: open chat → Get started → confirm the reply.
6) Edit the No Match Template in Visual Flow
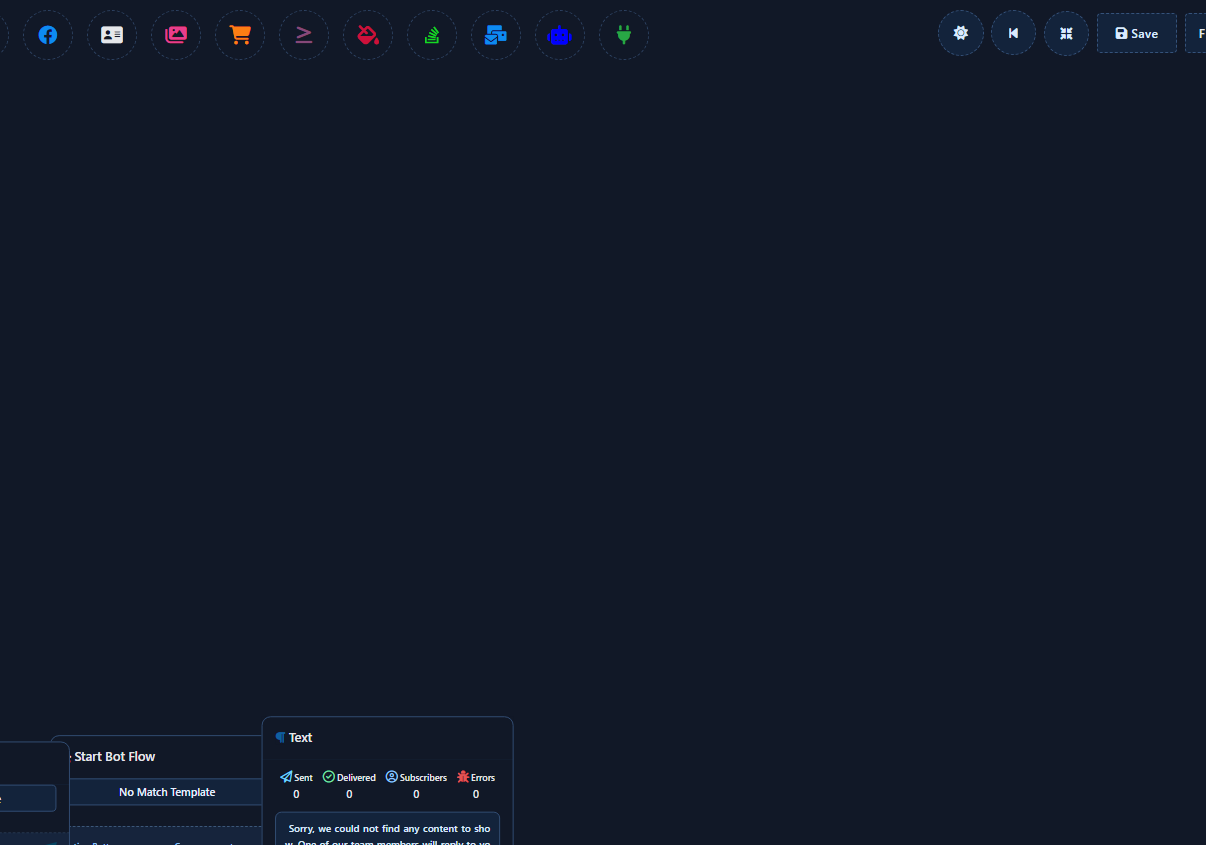
After enabling the General Settings switch, open No Match Template from Action Buttons. Write a reply that admits you did not match the request and suggests ready keywords (price, delivery) or an agent button. Do not leave it empty or overly vague — weak keywords make this template fire often.
- Confirm Reply if no match found is still on and saved.
- Open the template from Action Button Settings → No Match Template.
- Write a useful fallback + human escalation path, then Save.
- Test with a random unmatched message (e.g. test999).
7) Build keyword replies from Bot Reply
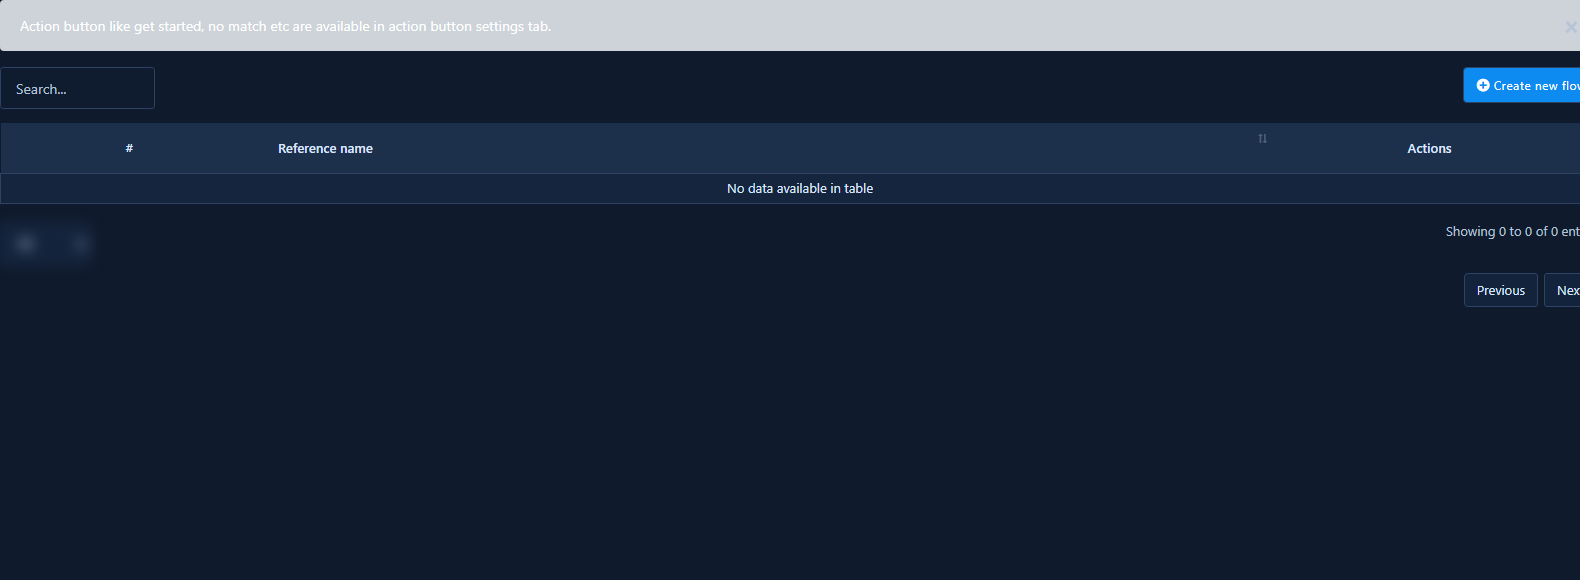
For recurring questions (price, delivery, hours) create flows from Bot Reply: Change Settings → Create New Flow → set keywords in Configure Reference → connect a reply node → Save. This path is clearer than relying on No Match alone.
- Open Bot Reply → Change Settings until the flow list appears (Reference Name column).
- Click Create New Flow or edit an existing row. Do not open the Get-started Template here by mistake — that lives under Action Buttons.
- Follow the detailed path: Create a keyword reply via Flow Builder.
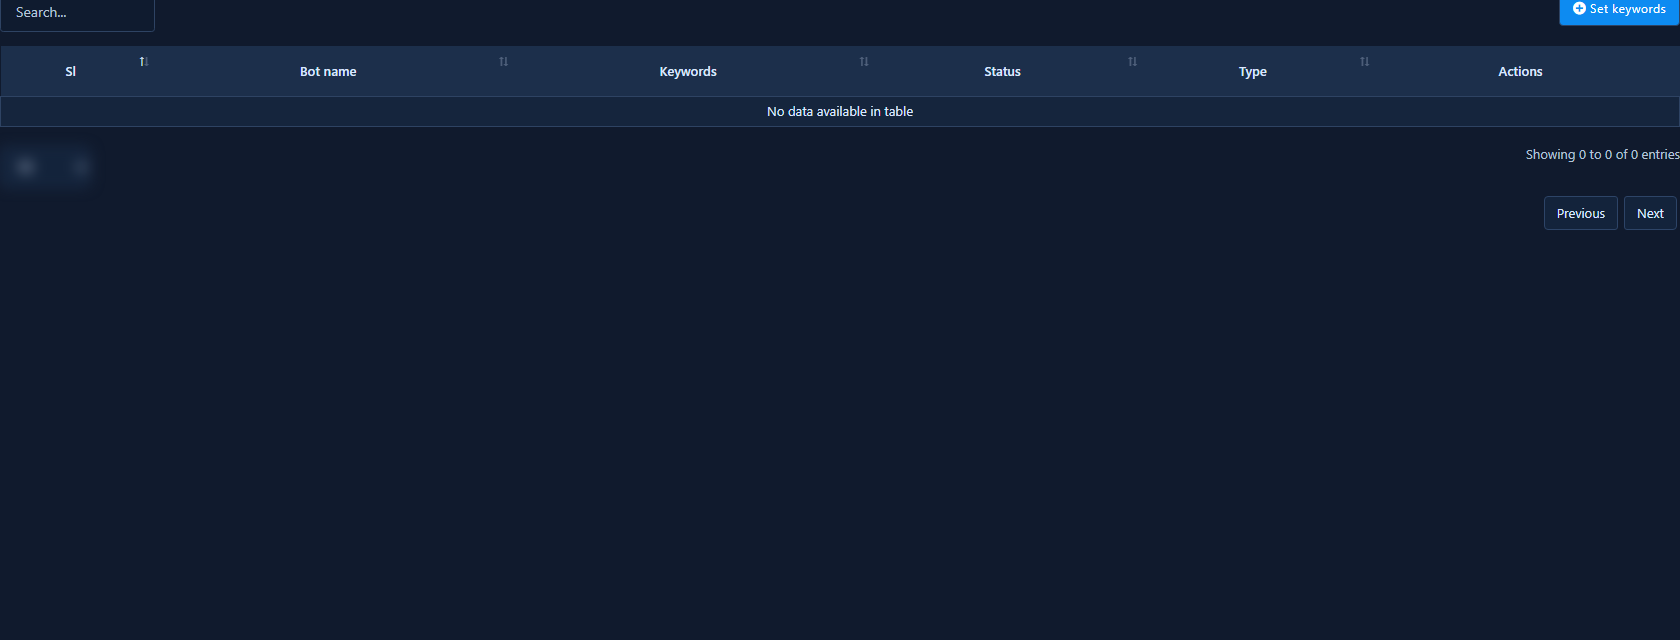
8) Classic path: Bot Keyword Settings
Beside Visual Flow, Bot Keyword Settings opens the classic keyword/tree editor. Use it if your team still relies on the classic list, or audit it so an old rule does not steal the same word from a new flow.
- Open Bot Keyword Settings → Change Settings until the keyword/reply editor is open (not just the collapsed card).
- Add comma-separated keywords, link a reply/template, then save.
- Classic guide: Bot keywords and triggers.
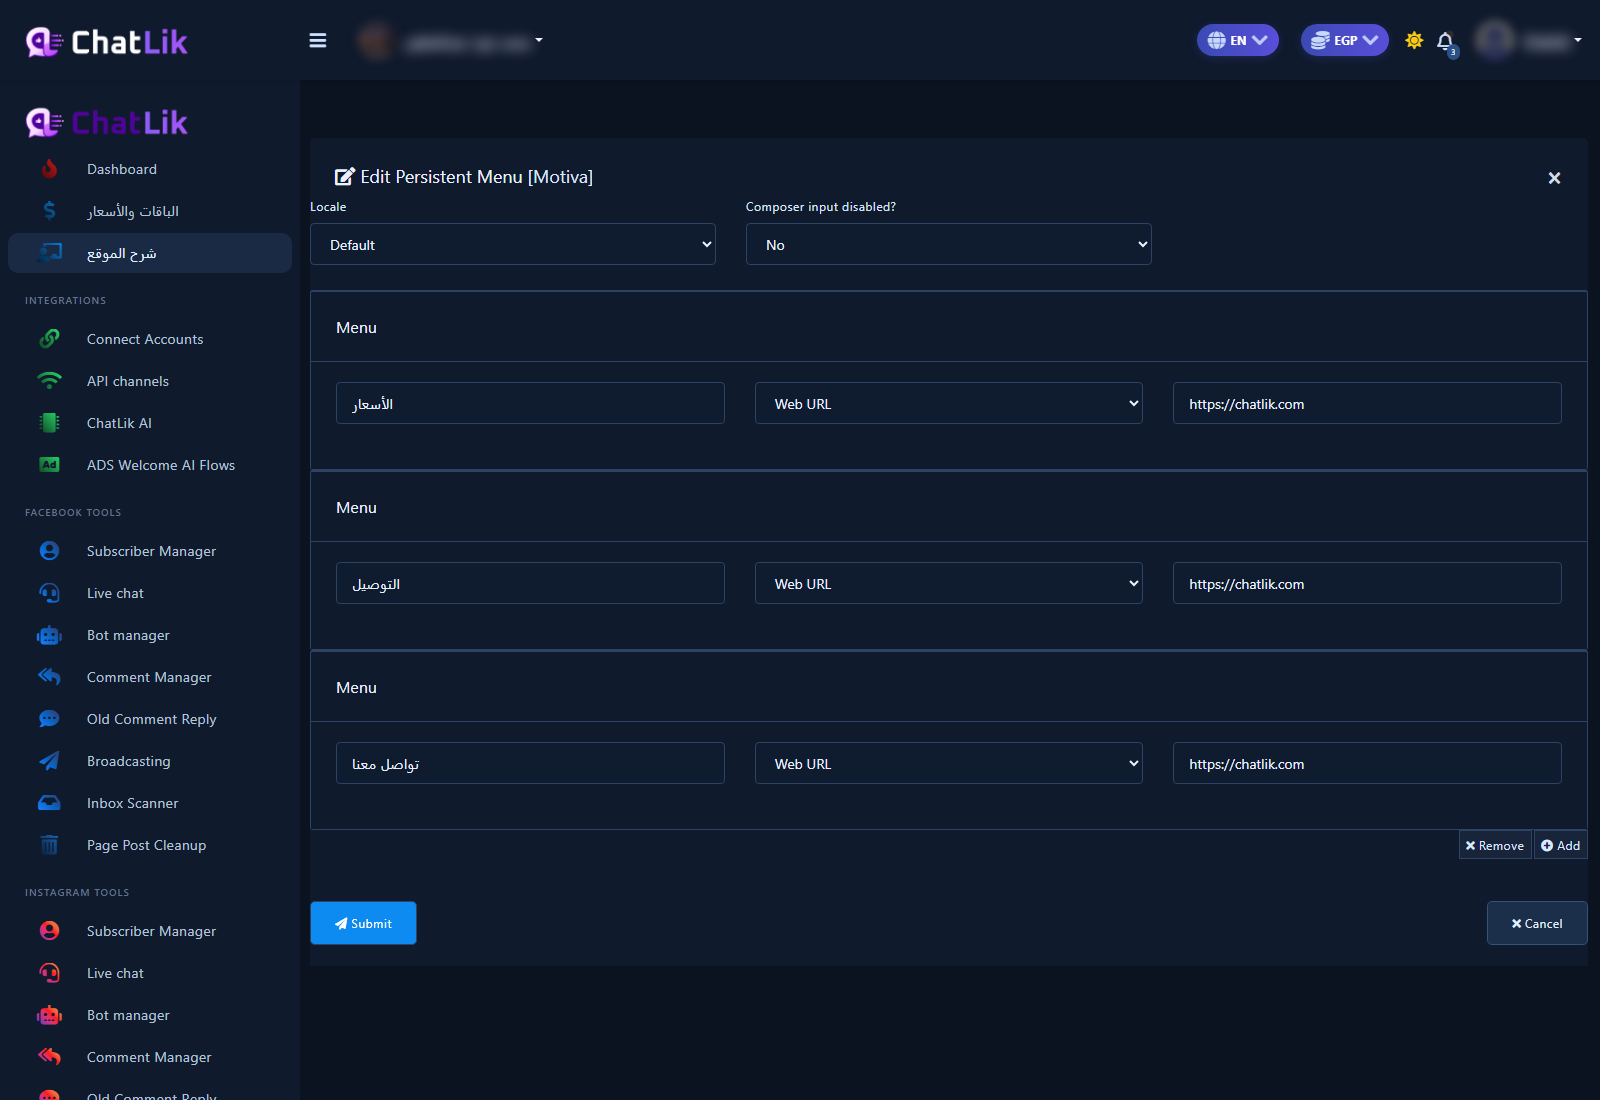
Full guide: Persistent Menu for Messenger.
10) Human support: Live chat and inbox
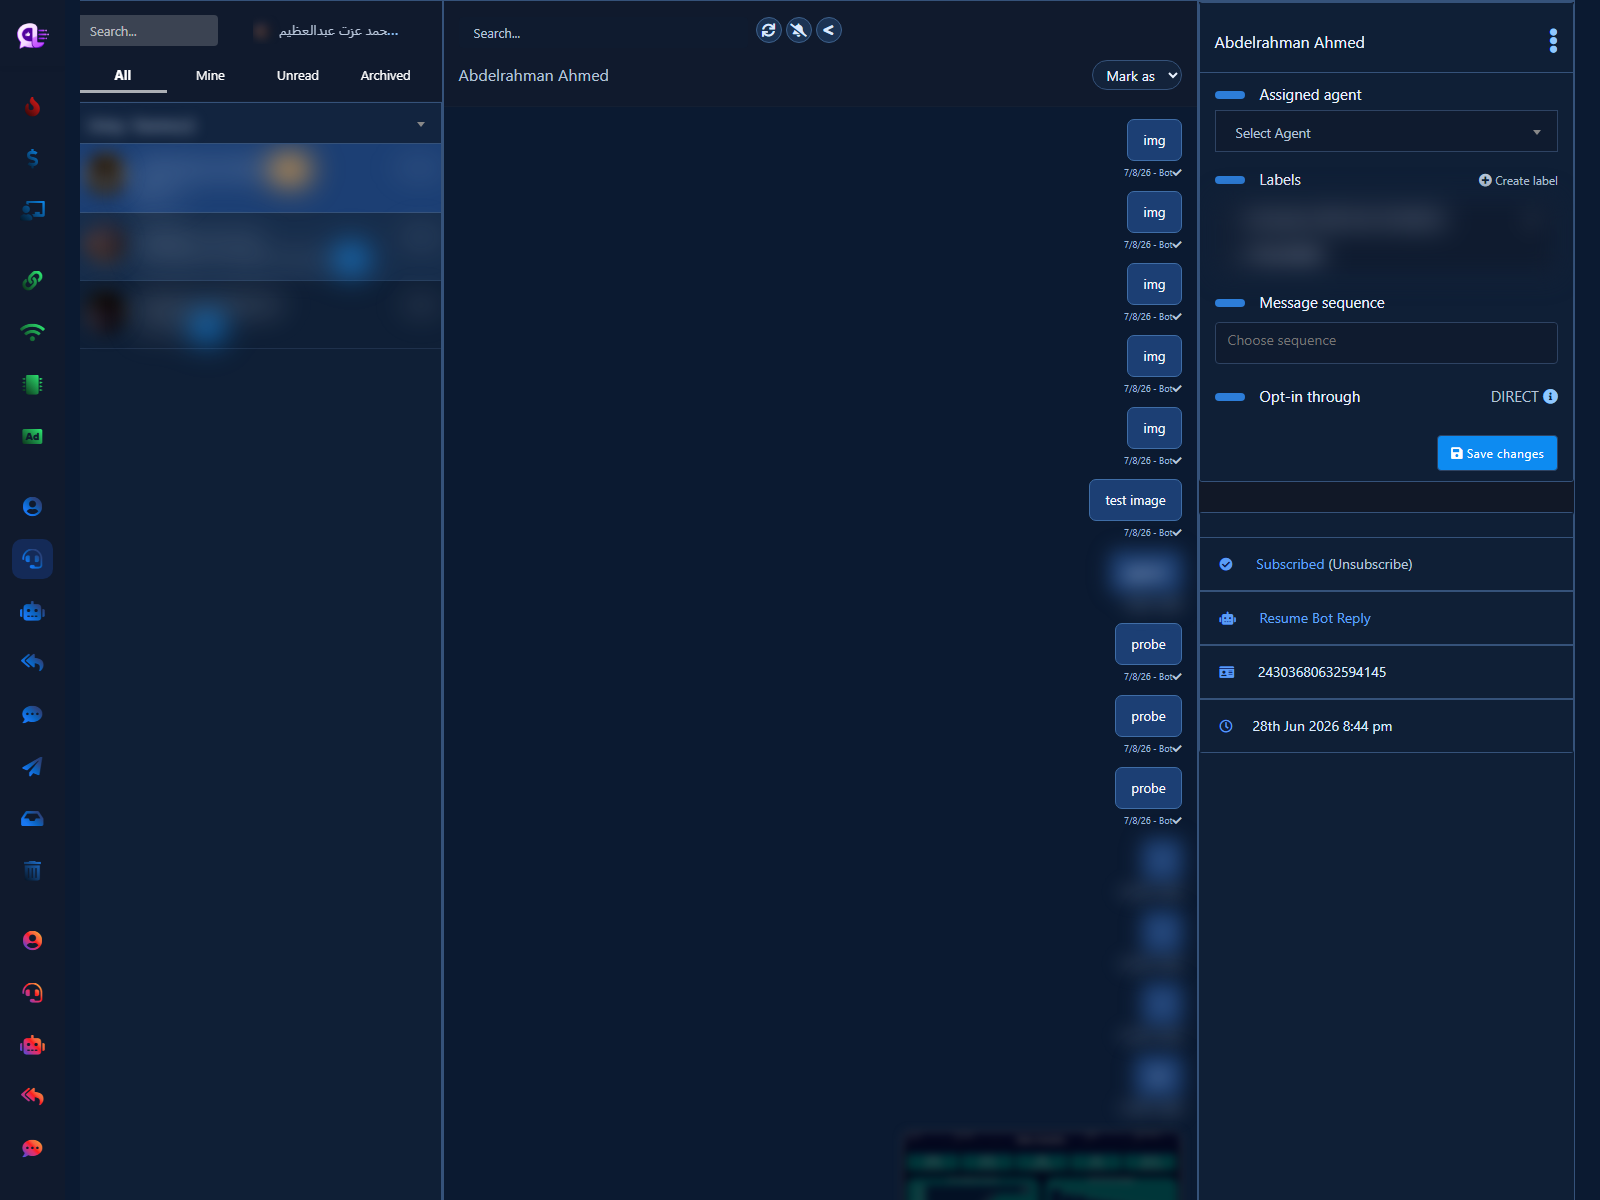
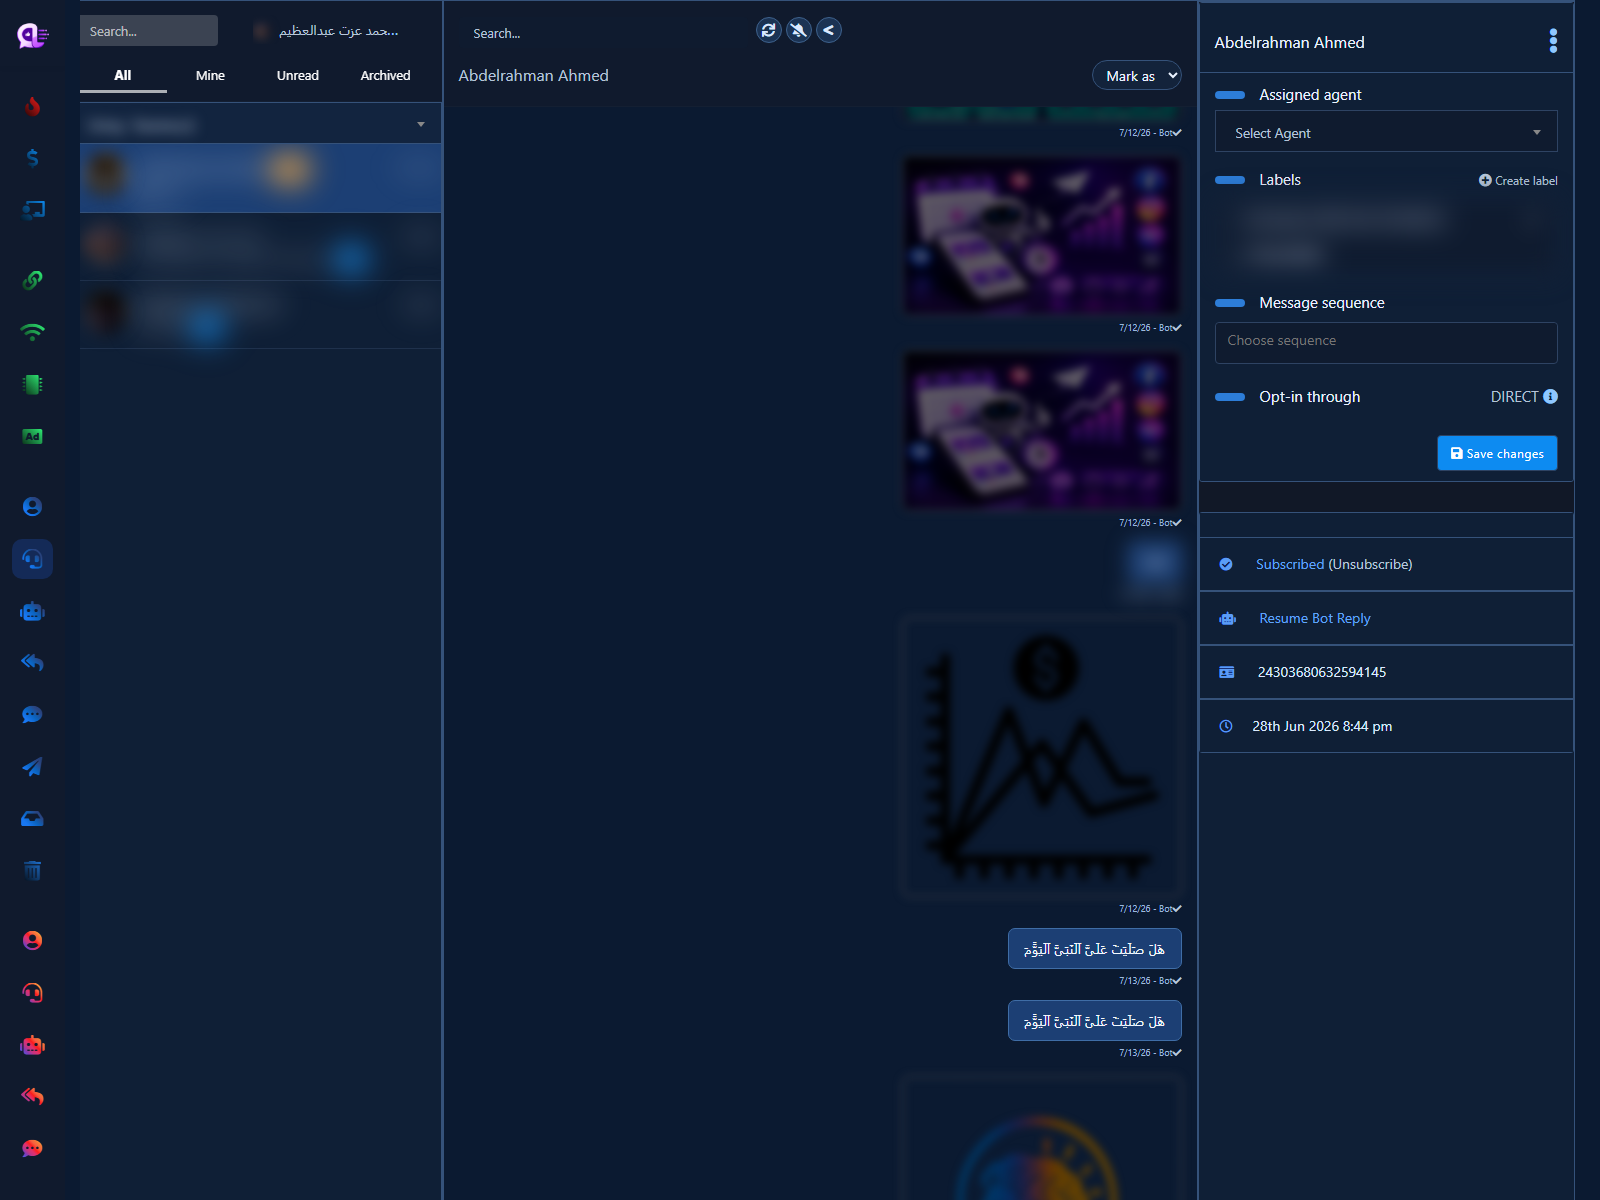
The bot is speed; the human is trust. When a customer asks for a person, or the case is a complaint/refund/negotiation, take over from Facebook Tools → Live chat. You will see the conversation list and open a thread to reply as an agent. For a broader inbox path that also covers WhatsApp, see Inbox & Live Chat — keep Messenger testing separate in this guide.
- Sidebar: Facebook Tools → Live chat.
- Select the Page if prompted and wait for the conversation list to load.
- Open an incoming thread to reply manually. After an agent reply, No Match may pause temporarily based on General Settings enhancer options.
- In Get Started or keyword templates, add a clear “Talk to an agent” button that routes here instead of leaving the chat hanging.
11) Test the full path in Messenger
Use a test Facebook/Messenger account (preferably one that never opened the Page before so Get Started appears). Order: tap Get started → send a known keyword → send a random unmatched message → open Persistent Menu → ask for an agent and confirm the thread appears in Live chat.
- Get Started: welcome from the Get-started Template arrives.
- Keyword: Bot Reply flow or classic keyword rule replies.
- No Match: fallback arrives only if the General Settings switch is on.
- Persistent Menu: bottom buttons appear and work.
- Human: thread shows under Live chat and can be answered manually.
Practical tips
- Always order: Connect → Bot Connection → Get Started → No Match → keywords → menu → human.
- Start with a short precise keyword list; random expansion causes flow conflicts.
- Document lab Page settings before copying to production.
- Broader Visual Flow overview: Facebook Flow Builder.
Common mistakes
- Editing No Match without enabling Reply if no match found.
- Creating Persistent Menu before enabling Get started button status.
- Opening Get-started Template when you meant a keyword flow under Bot Reply.
- Editing one Page while testing another.
- Mixing Instagram screens into Messenger steps — this guide is Facebook/Messenger only.
Related: Connect Facebook · Bot Manager map · Get Started · No Match · Keyword via Flow Builder · Persistent Menu · Inbox & Live Chat.


