
Post-back Manager stores reply templates fired by buttons, persistent-menu items, or postback payloads. Path: Facebook Tools → Bot Manager → Page → Post-back Manager → Change Settings. Start on a non-production lab Page.
Before you start
- Enable Bot Connection for the Page.
- Sketch text + buttons (label + destination).
- Agree on clear naming before creating dozens of templates.
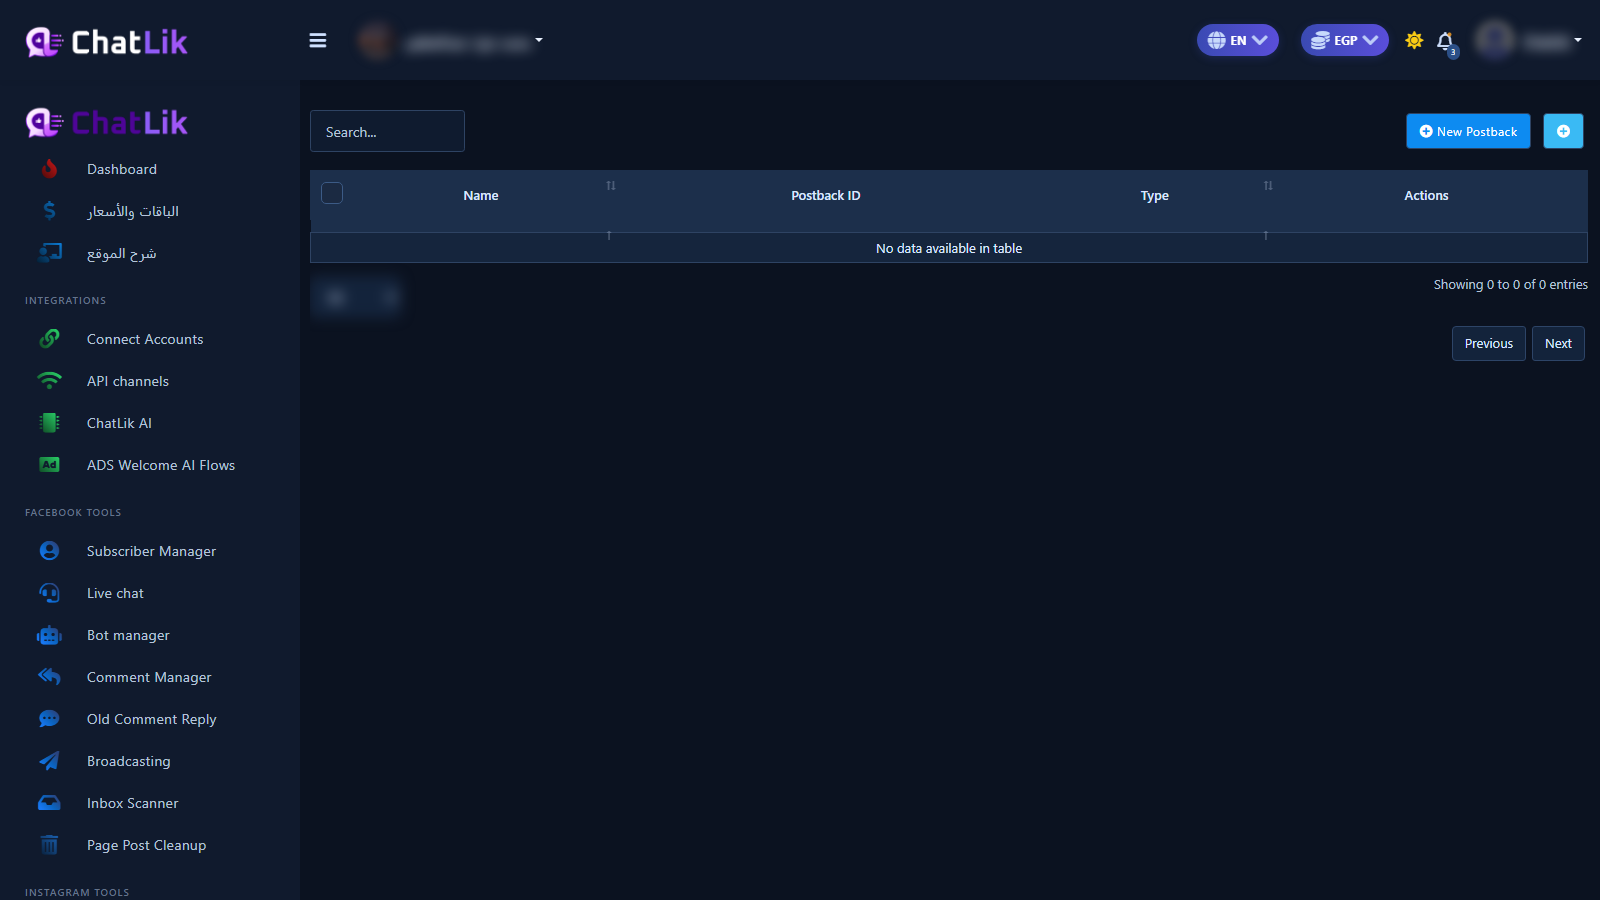
1) Open the template list
- From Bot Manager open Post-back Manager → Change Settings.
- You should see the template table with search and New auto-reply.
2) Create a Postback template
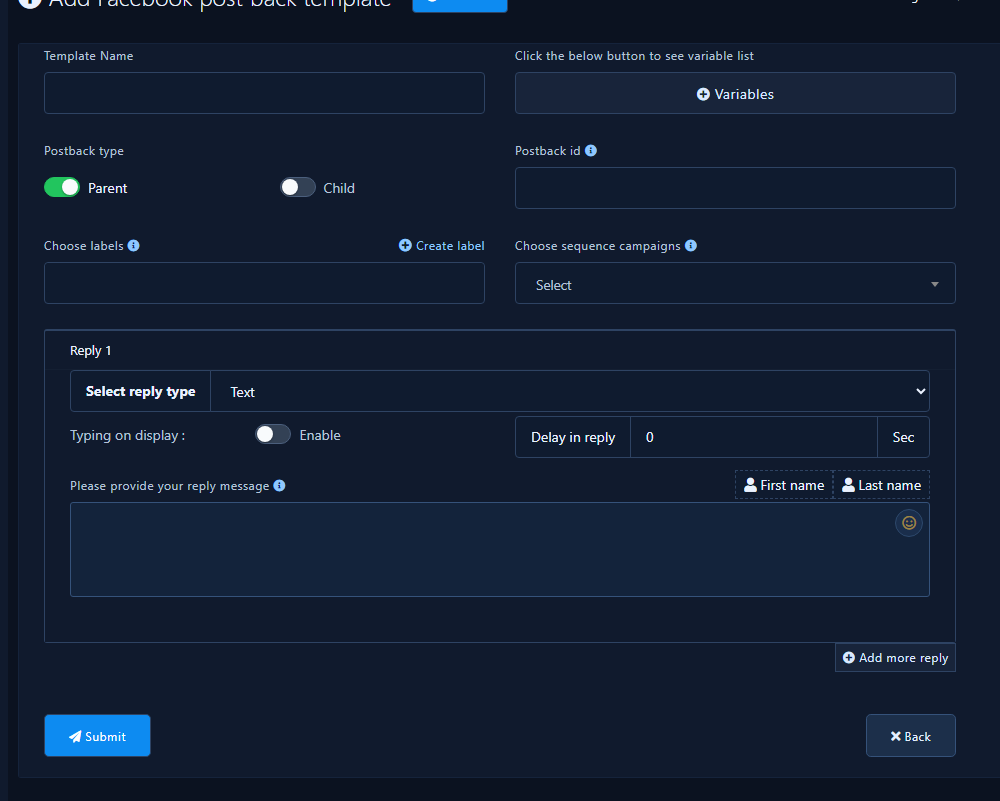
- Click New auto-reply.
- Name it, set Parent/Child if shown, optionally attach labels/sequences.
- Add reply blocks (text/media/buttons) and set each button destination.
- Configure typing/delay if needed, then save.
3) Wire and test
- Attach the template from Persistent Menu, keywords, or Flow Builder.
- Test in a real Messenger thread.
Practical tips
- Use clear names your team can recognize in dropdowns.
- Unlink before deleting a template still in use.
- Export bot settings before mass cleanup.
Common mistakes
- Duplicate names causing wrong dropdown picks.
- Buttons with missing destinations.
- Editing production while testing another Page.


