Messenger Checkbox Plugin setup

Messenger Checkbox Plugin setup

The Checkbox Plugin embeds an opt-in on your site that subscribes visitors to Messenger. Path: Facebook ToolsBot Manager → Page → Messenger EngagementCheckbox Plugin.

Before you start

  1. Enable Bot Connection.
  2. Prepare an HTTPS page with a clear consent area.
  3. Keep consent optional and explicit per Meta policy.

1) Open the Checkbox list

  1. Open Checkbox Plugin from Messenger Engagement.
  2. Review the table or create a new plugin.
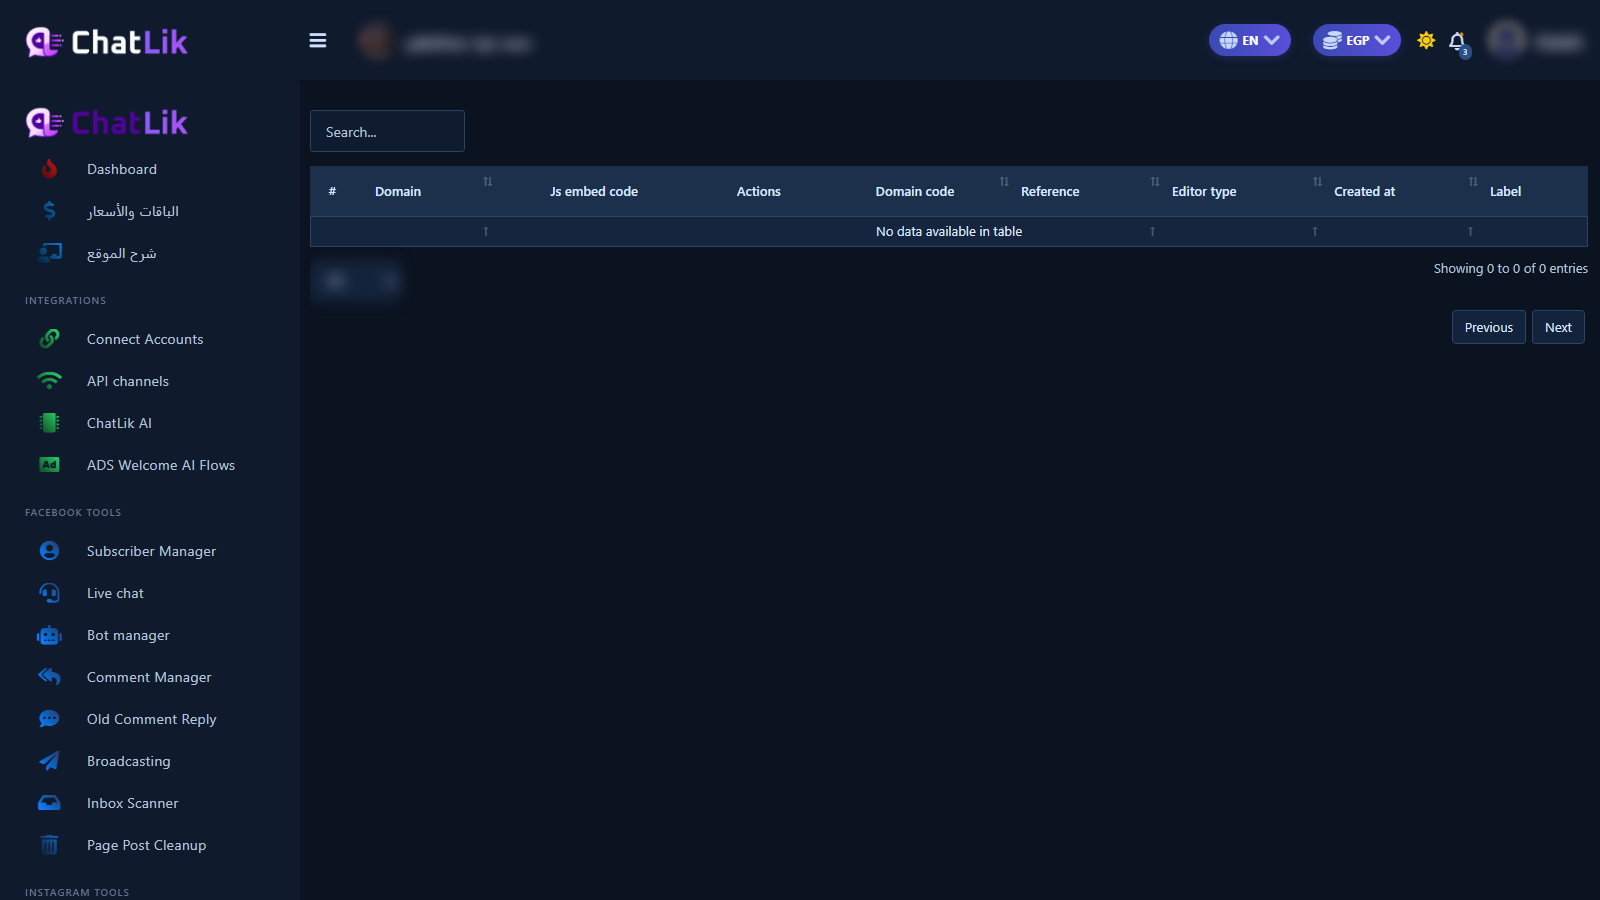
Checkbox Plugin list — table and search

2) Fill the create form

  1. Enter the Domain and language.
  2. Set appearance, center alignment, and size.
  3. Write success/error messages as needed.
  4. Pick an opt-in confirmation template, then Generate Embed Code.
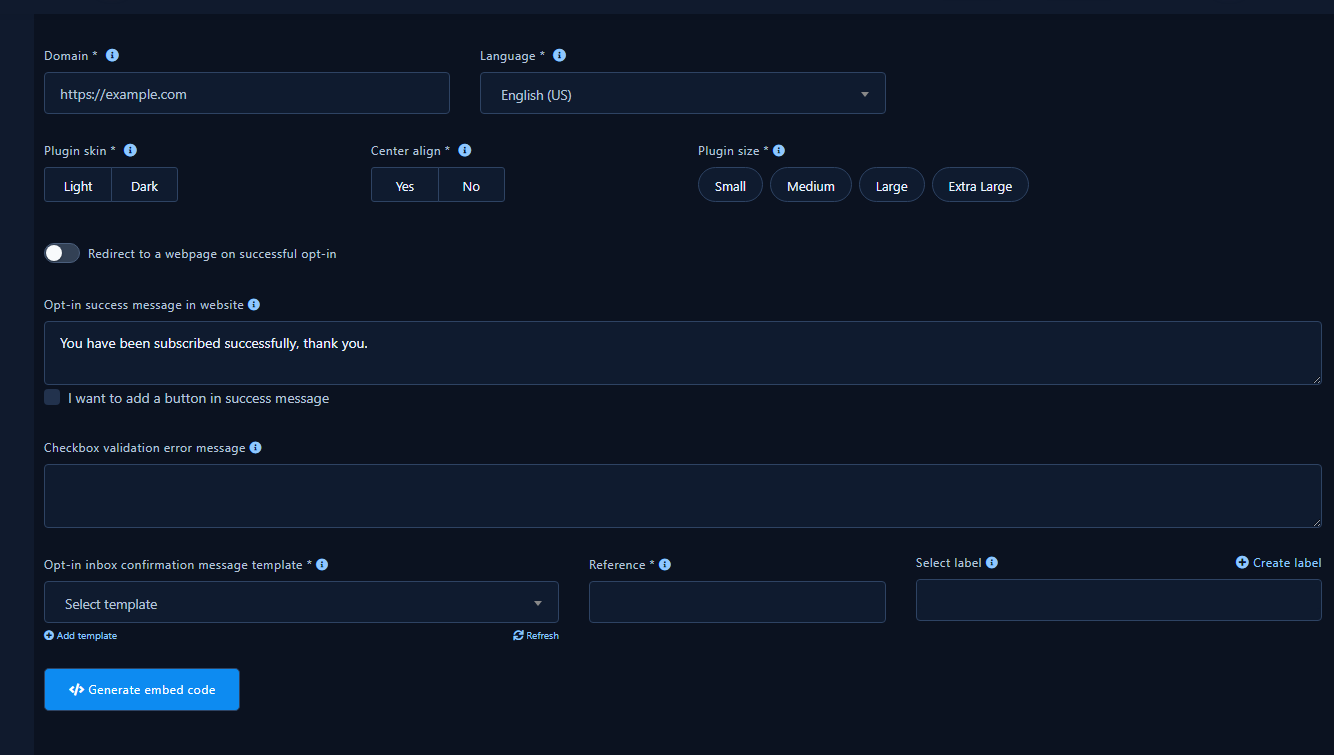
Checkbox form: domain, appearance, Generate Embed Code

3) Publish and test

  1. Paste the embed code before .
  2. Test desktop/mobile and confirm the subscriber appears.

Practical tips

  • Explain why the visitor should opt in.
  • Avoid duplicate checkboxes for the same purpose.
  • Retest after changing Get Started templates.

Common mistakes

  • Embedding for a Page with Bot Connection off.
  • Using http instead of https.
  • Confusing Checkbox with Customer Chat Plugin.

Next step

Customer Chat · Subscribers & domains

Keywords MessengerMessenger automationFacebookChatLik
Share this article: