
Single-post Facebook comment reply attaches an auto-reply campaign to one post only, not every post on the Page. Path: Comment Growth Tools → All Posts List → select Page → Latest Posts → post gear → enable auto reply or edit auto reply.
In the modal titled Please give the following information for post auto reply, the system may ask do you want to use saved template? — choose No to configure from scratch (this article’s path), or Yes to pick an existing saved template (shortcut). Then configure offensive-comment handling, multiple-reply / like / hide toggles, and pick one mode: Automated reply by AI, Generic message for all, or Send message by filtering word/sentence. A private reply template is available in all three modes. When saving, use Submit alone, or Submit & save as template so you can reuse the same setup on another post later by answering Yes to the saved-template prompt.
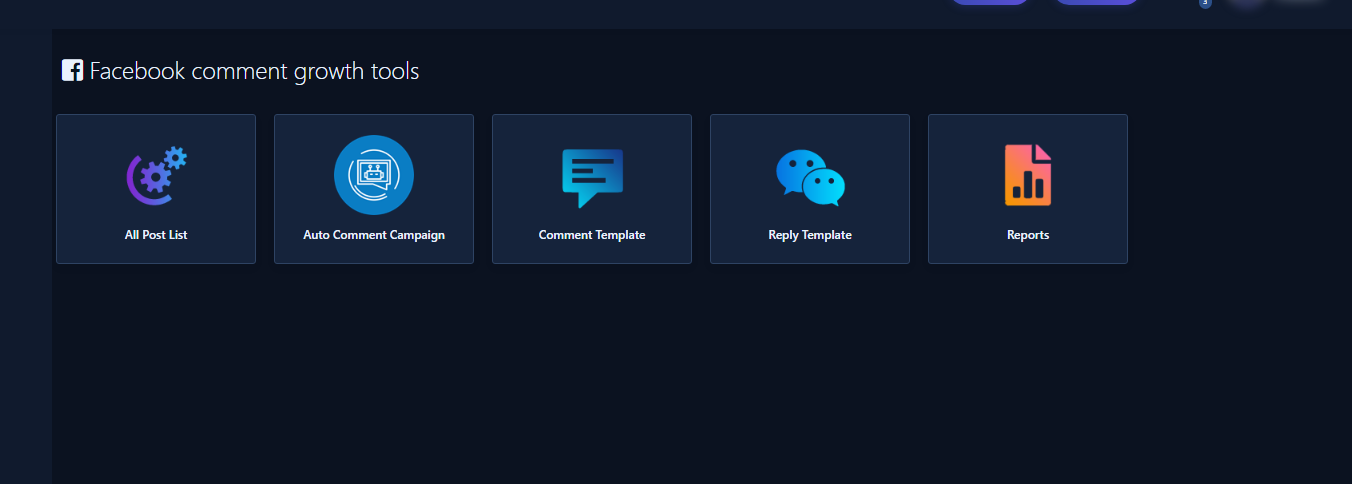
Open growth tools and All Posts List
- From the sidebar open Comment Manager / Facebook Comment Growth Tools, or go.
- Open the All Posts List card.
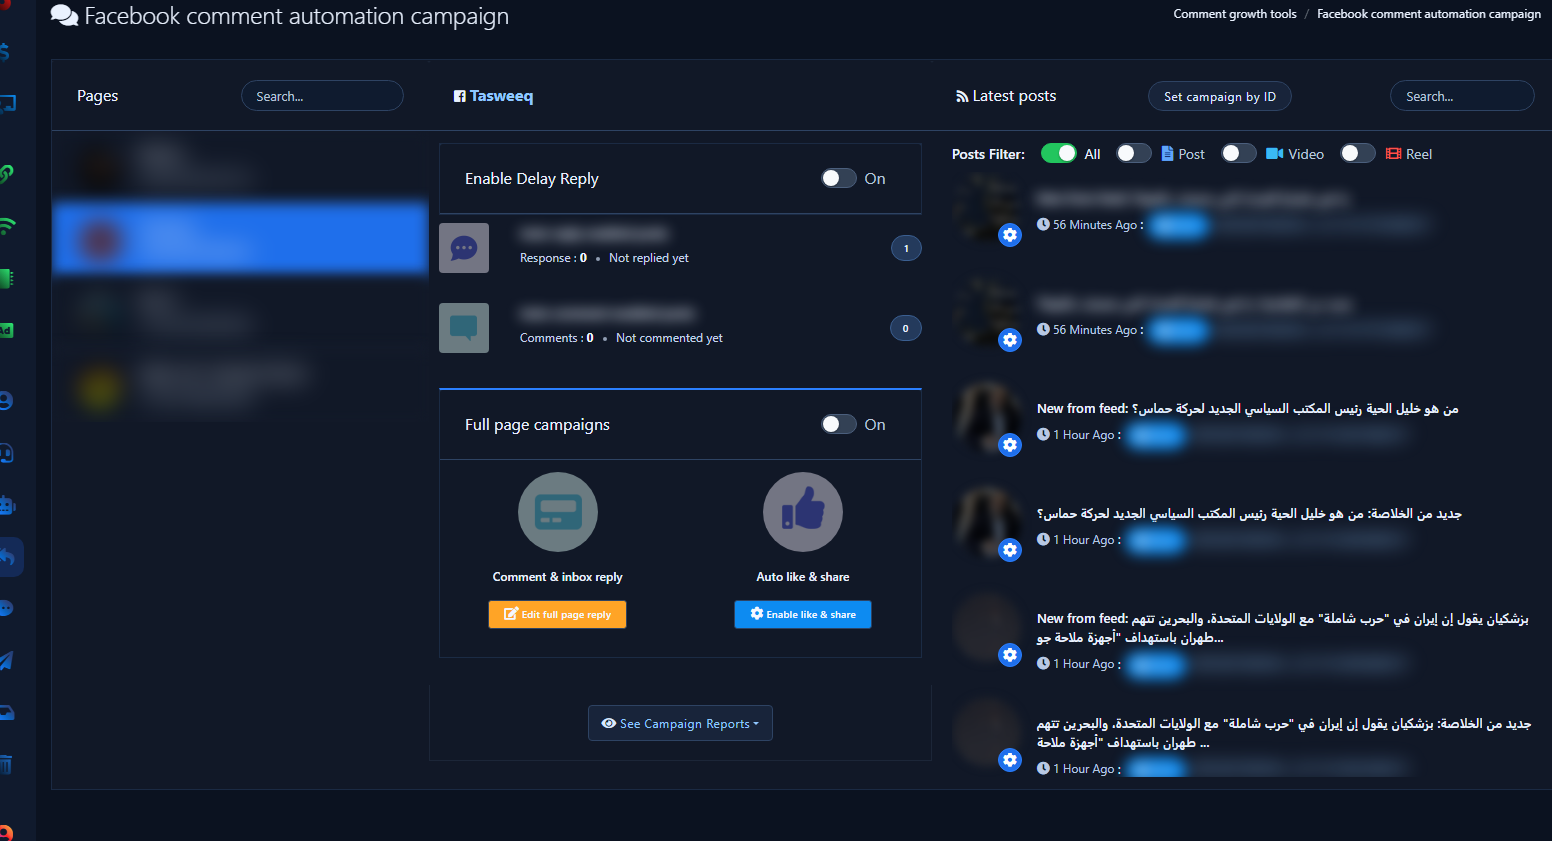
Select a Page and Latest Posts
- In the Pages column pick a Page (demo shots use an active Page such as صفحة العملاء so posts are loaded).
- Latest Posts appears with type filters (All / Post / Video / Reels) and Set Campaign by ID if a post is missing from the list.
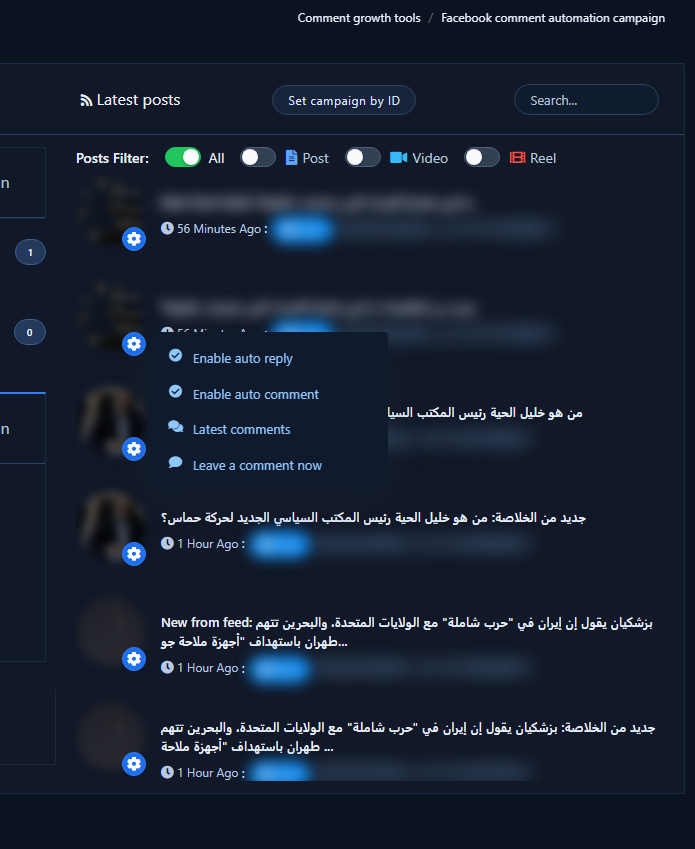
Enable reply from the post gear
- Click the gear (⚙️) next to the post thumbnail.
- Choose enable auto reply. If a campaign already exists you will see edit auto reply, view auto reply report, pause/start, and delete report instead.
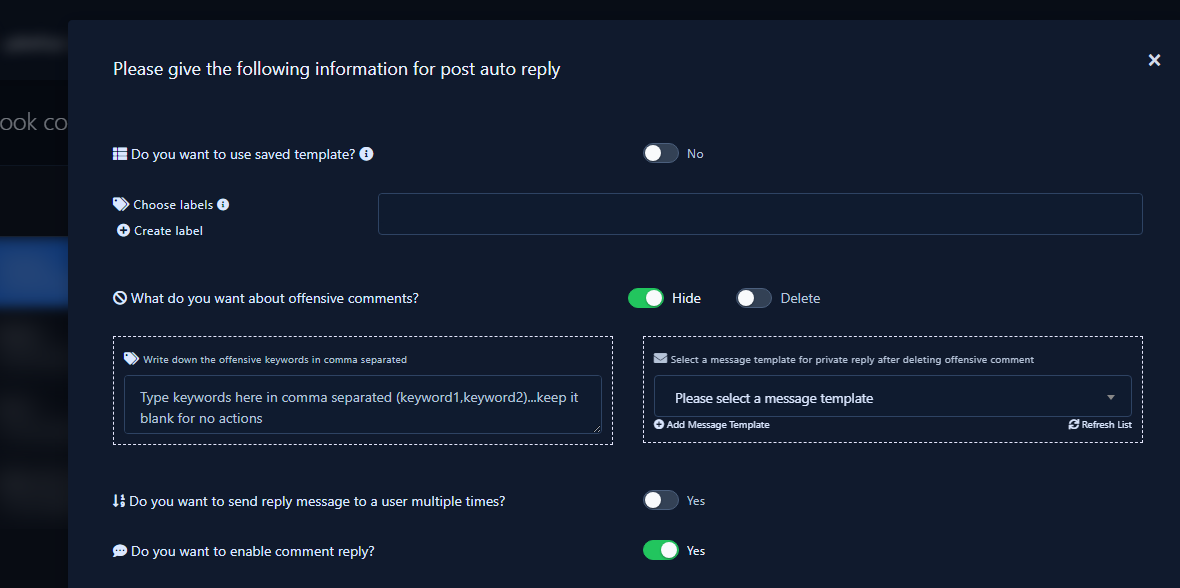
Saved-template prompt — choose No to configure from scratch
- The modal Please give the following information for post auto reply opens.
- At the top you see do you want to use saved template? with a Yes / No switch.
- For this guide, choose No before filling the full form — the manual settings appear (offensive comments, toggles, reply modes). If you choose Yes, you pick an existing saved template from the list without rebuilding fields (shortcut after you previously used Submit & save as template — see the save step below).
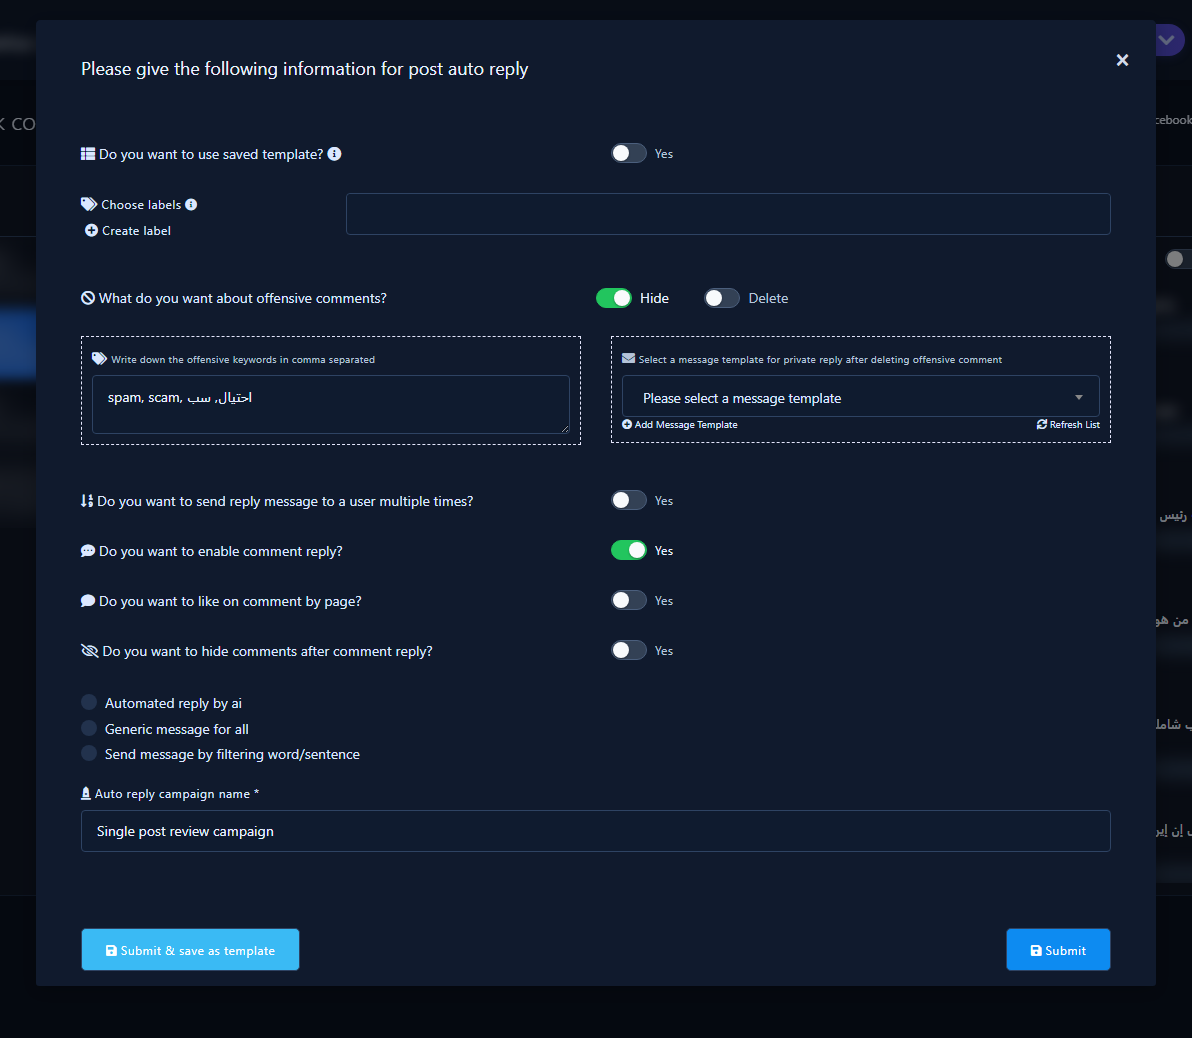
Full post setup modal
- After No: offensive comments (Hide / Delete), comma-separated offensive keywords, and a private template after hide/delete.
- Toggles: reply multiple times, enable comment reply, like as Page, hide comments after reply.
- Next: the three reply-type radios and auto reply campaign name *.
Mode 1 — Automated reply by AI
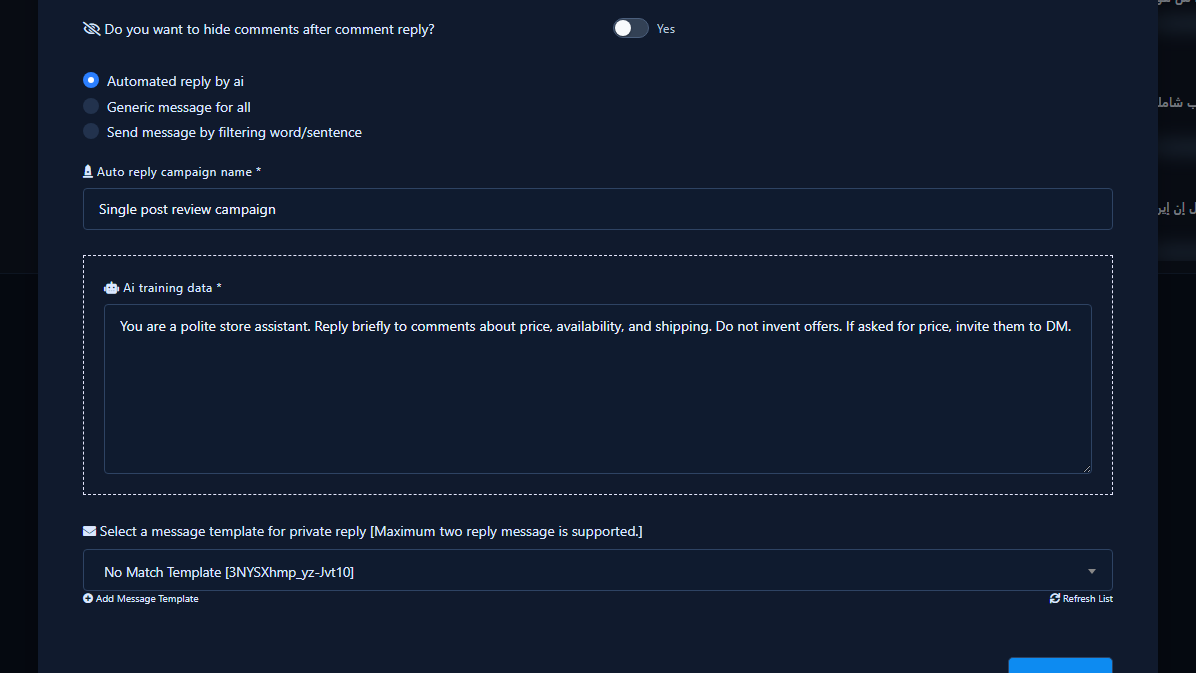
When to use: Comment questions vary and you want contextual answers. Requires AI on your plan; if the radio is missing, the plan does not include it.
- Select Automated reply by AI (
ai_reply/#ai_reply). - Generic and filter blocks hide. AI training data * (
#ai_training_data) appears with private-template select, Add Message Template, and Refresh List. - Enter clear store instructions (language, tone, allowed topics, when to send to DM). Required.
- Pick a private-reply template (UI notes a maximum of two reply messages) and save.
Mode 2 — Filter by word/sentence
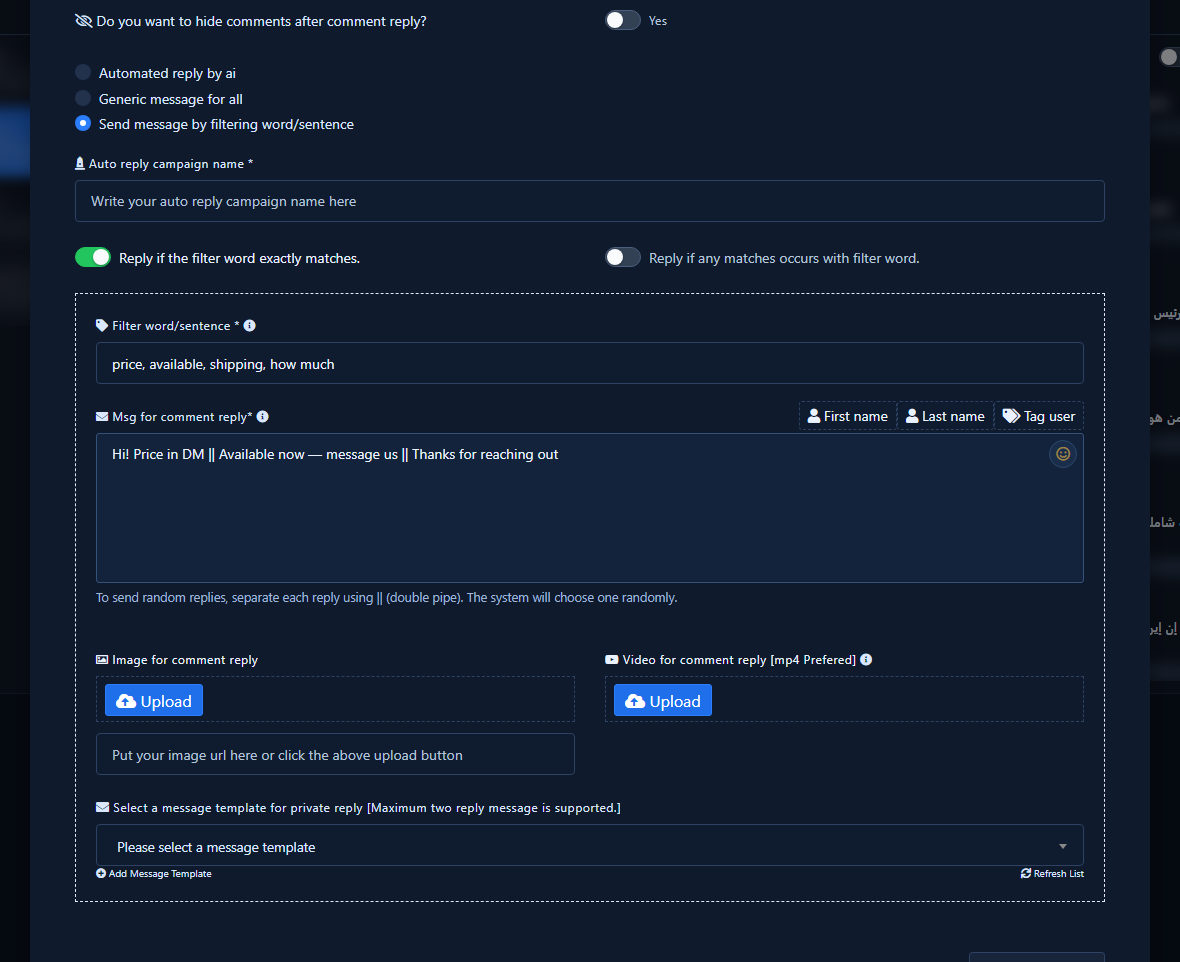
When to use: Reply only when comments contain keywords; handle non-matches via the no-match section.
- Select Send message by filtering word/sentence (
filter/#filter). - Two match controls appear:
- Reply if the filter word exactly matches.
- Reply if any matches occurs with filter word.
- In Filter word/sentence * enter comma-separated keywords, e.g.
price, available, shipping, how much. - In Message for comment reply * write the reply. For random variants, separate with
||. Use First name / Last name / Tag user buttons. - Optionally upload image/video, select a private template, and use Add more filtering for extra rows.
Mode 3 — Generic message for all
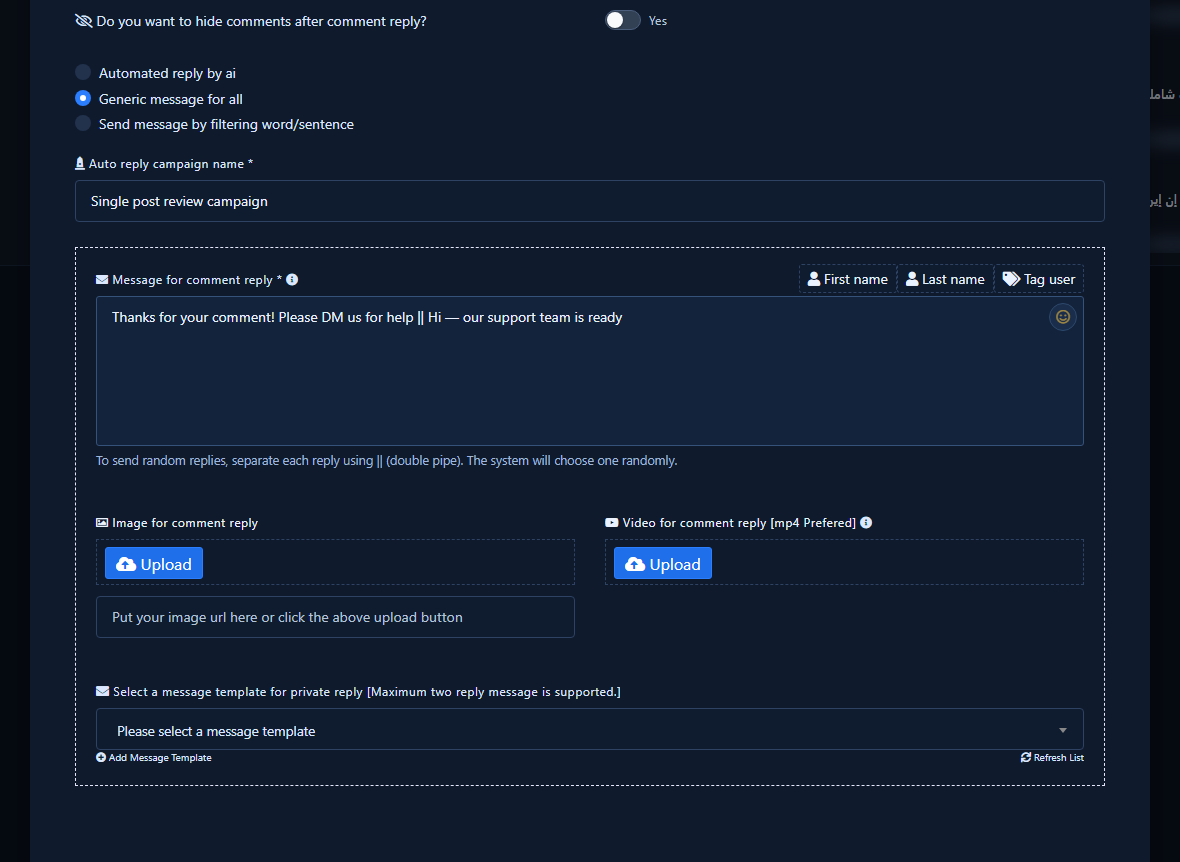
When to use: One shared reply (or a small random set) for every comment — without keywords or AI generation.
- Select Generic message for all (
generic/#generic). - The Message for comment reply * block (
#generic_message) appears with name/tag buttons, the||instruction, image/video fields, and private template. - Write one message, or several variants separated by
||.
Private reply template and Add Message Template
All three modes expose Select a message template for private reply [Maximum two reply message is supported.] with Add Message Template and Refresh List. Requires Bot Connection enabled for the Page.
- Choose an existing template, or click Add Message Template to open Add Template (name, variables, text reply type, delay, then submit and refresh).
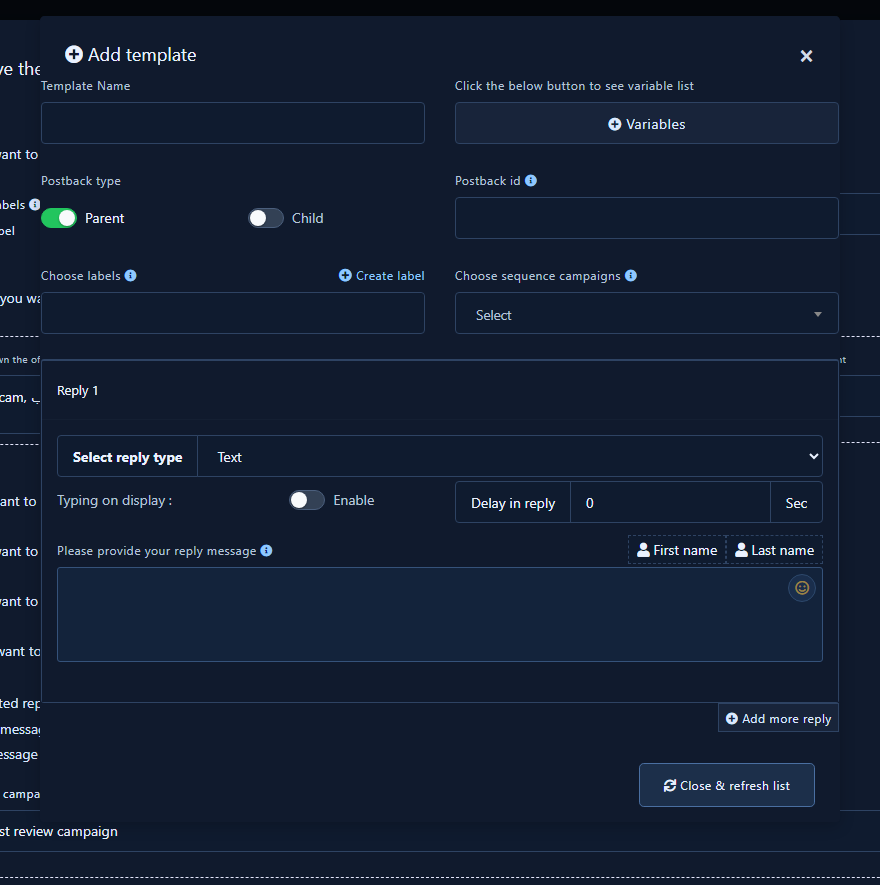
Save options: Submit vs Submit & save as template
- After selecting a private-reply template or creating one via Add Message Template, review the campaign name and mode, then look at the footer save buttons.
- Submit: creates the auto-reply campaign on this post only without saving the campaign setup as a reusable template.
- Submit & save as template: creates the post campaign and saves the setup as a template. Later on another post: open enable, answer do you want to use saved template? with Yes, then pick the template — one step instead of rebuilding the form (the opposite of choosing No at the start of this guide).

After save: edit, report, pause
- Back in Latest Posts, the gear menu becomes edit auto reply / view auto reply report / pause or start / delete.
- Test with a real comment on that same post only.
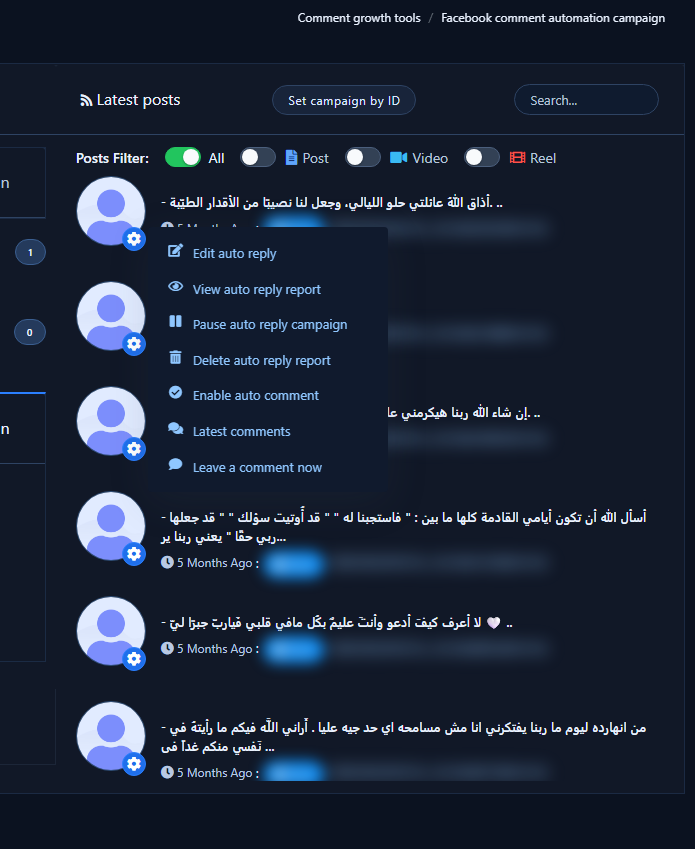
Quick mode chooser
- AI: varied questions → Automated reply by AI + training data + private template.
- Filter: keyword triggers → filter radio + comma keywords + exact/any + optional ||.
- Generic: same reply for all → Generic message for all + message (and ||) + private template.
Related: Full-Page reply · Connect Facebook and enable the bot.


